Be yourself; Everyone else is already taken.
— Oscar Wilde.
This is the first post on my new blog. I’m just getting this new blog going, so stay tuned for more. Subscribe below to get notified when I post new updates.
Be yourself; Everyone else is already taken.
— Oscar Wilde.
This is the first post on my new blog. I’m just getting this new blog going, so stay tuned for more. Subscribe below to get notified when I post new updates.
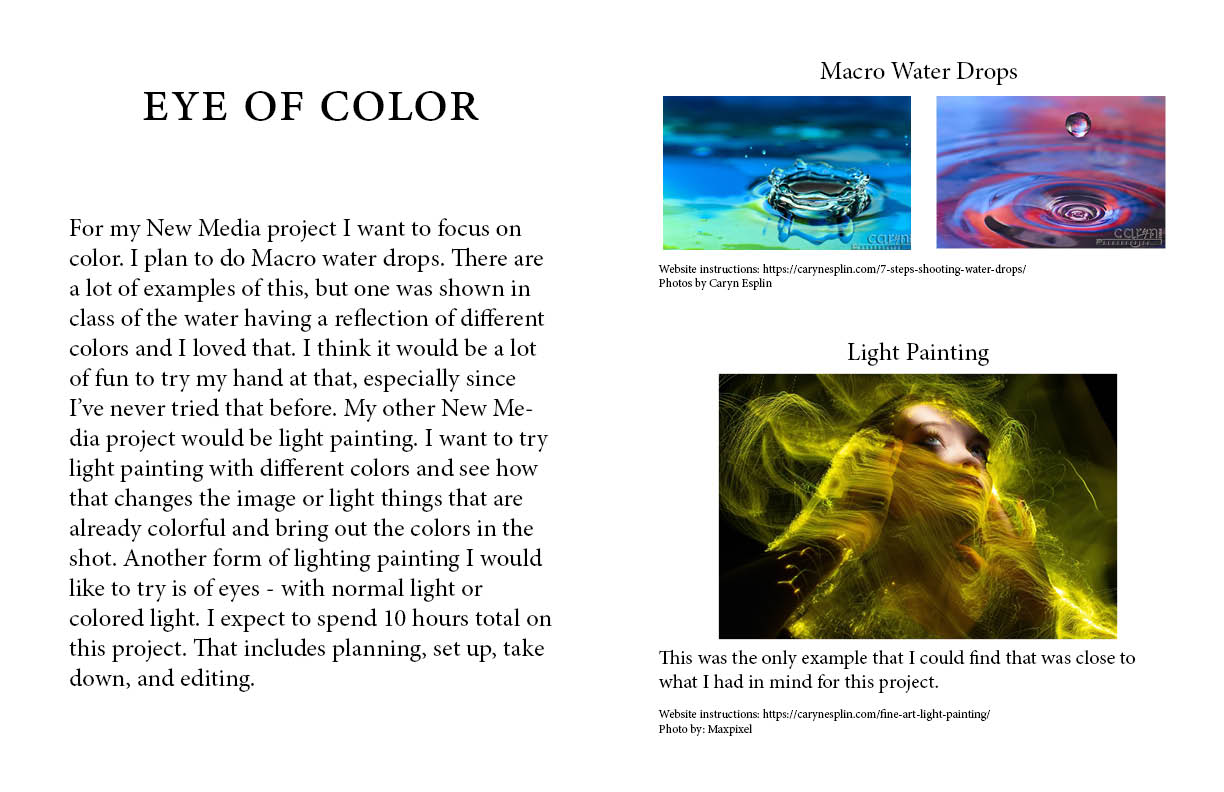
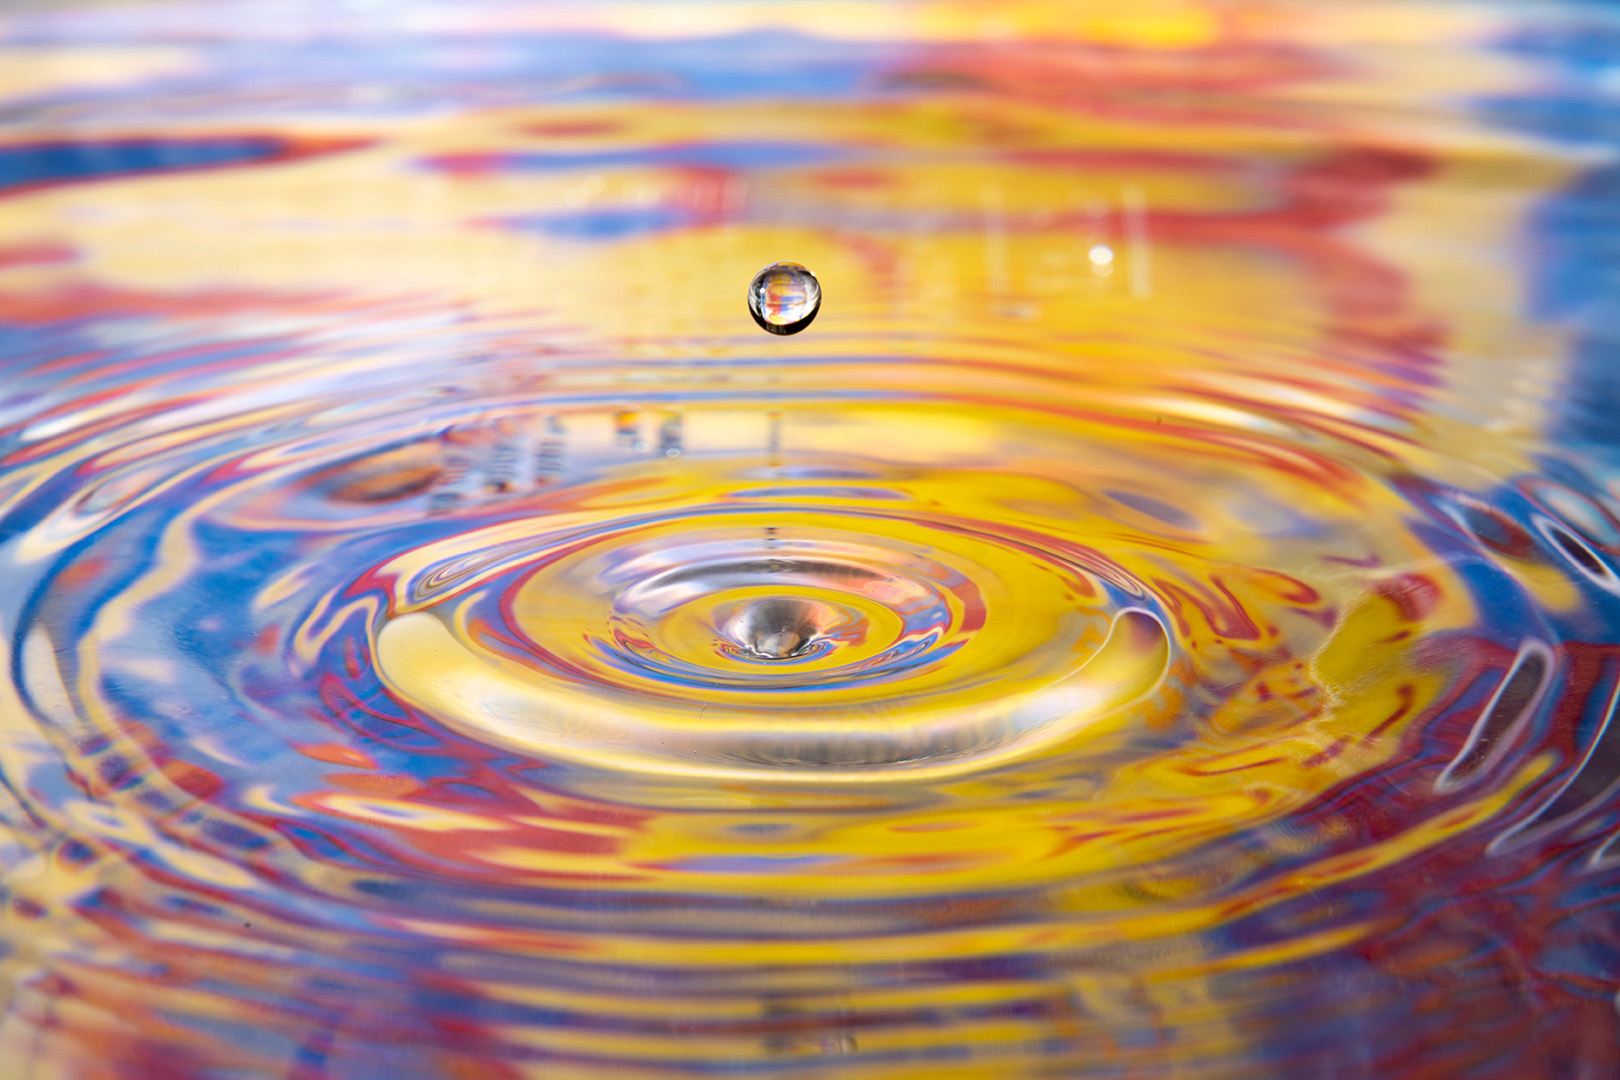
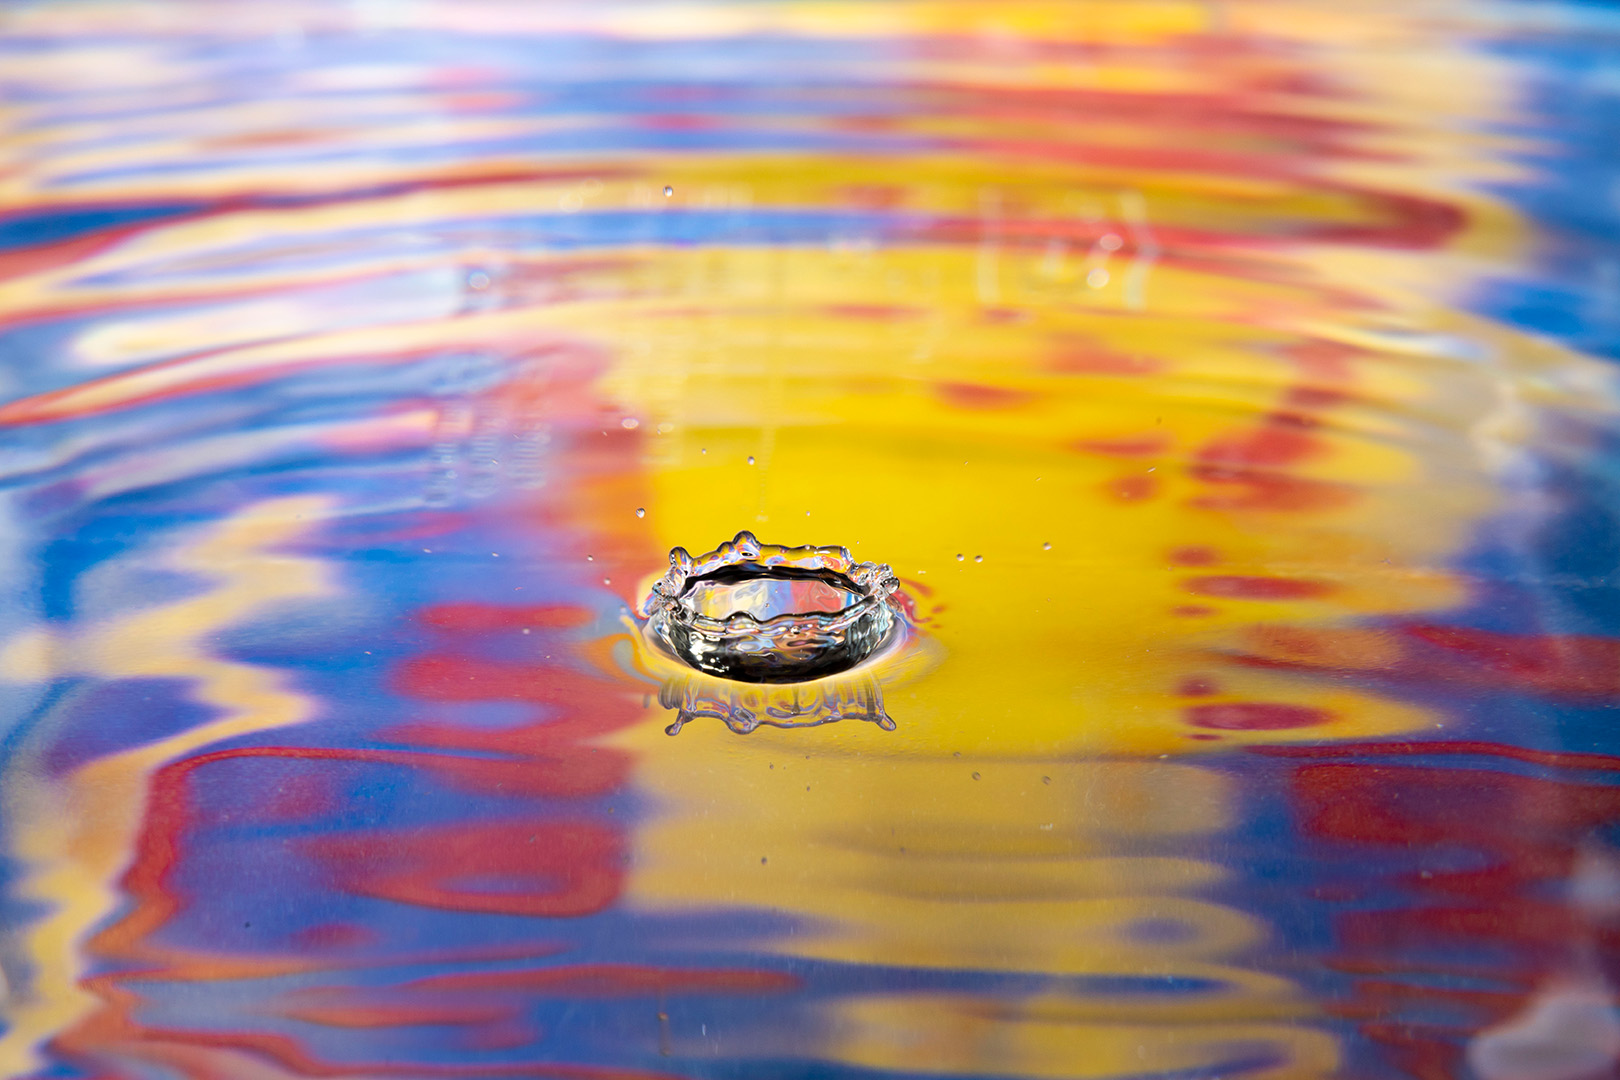
For my final New Media Project I chose to do Light Painting and Macro Water Drops. I chose these two because I wanted to expand on my understanding of Light Painting by myself and figure out how to set up a display. I wanted to work on Macro Water Drops because I thought the example shots looked amazing and I wanted to work out how to do that.
With Light Painting you have to have a specific light and use different angles to light the scene. With Macro Water Drops you have to have a separate flash on the side that is pointed at a background, a bag full of water that can drip into a bin, and a background that can be used to be reflected in the water when the picture is taken.
Proposal
Final Images


Link to Instagram Post: https://www.instagram.com/p/CqEPTFgOzyexDSYXlKeqV7vbvCz9yxyUVXLgb80/
Throughout the semester I’ve taken a lot of photos. I’ve been so happy with my progress throughout the semester and all of the new things I’ve learned about my camera and camera settings. I went through my photos and found one that I’m very proud of and that I want printed out.

During the editing process I lightened the darks and the highlights, as well as the exposure. This was to make the image all around brighter. I also changed the temperature of the photo to a cooler color. When you do light painting, the image ends up turning out having a yellow tint to it. I also sharpened the focal point of the image, the gnome. One last thing that I did was use the clone tool to take out the thermometer in the background of the original photo. The image right now looks almost too bright, but when it’s printed out the image will be darkened and it won’t look as bright.
I’ve had the opportunity to grow and learn a lot this semester with my photography skills and my Photoshop skills. I narrowed down my favorite photos that I took down to 5. 2 macro shots, 2 light paintings, and 1 portrait. I chose not to use any that I’m doing for my New Media Project just so there is variety. I learned how to take macro shots and light painting shots this semester, so I felt like they were a good showcase of what I’ve learned over the semester. I wanted to showcase the portrait because it shows my skills in Photoshop that I learned, specifically with Dodge and Burn.

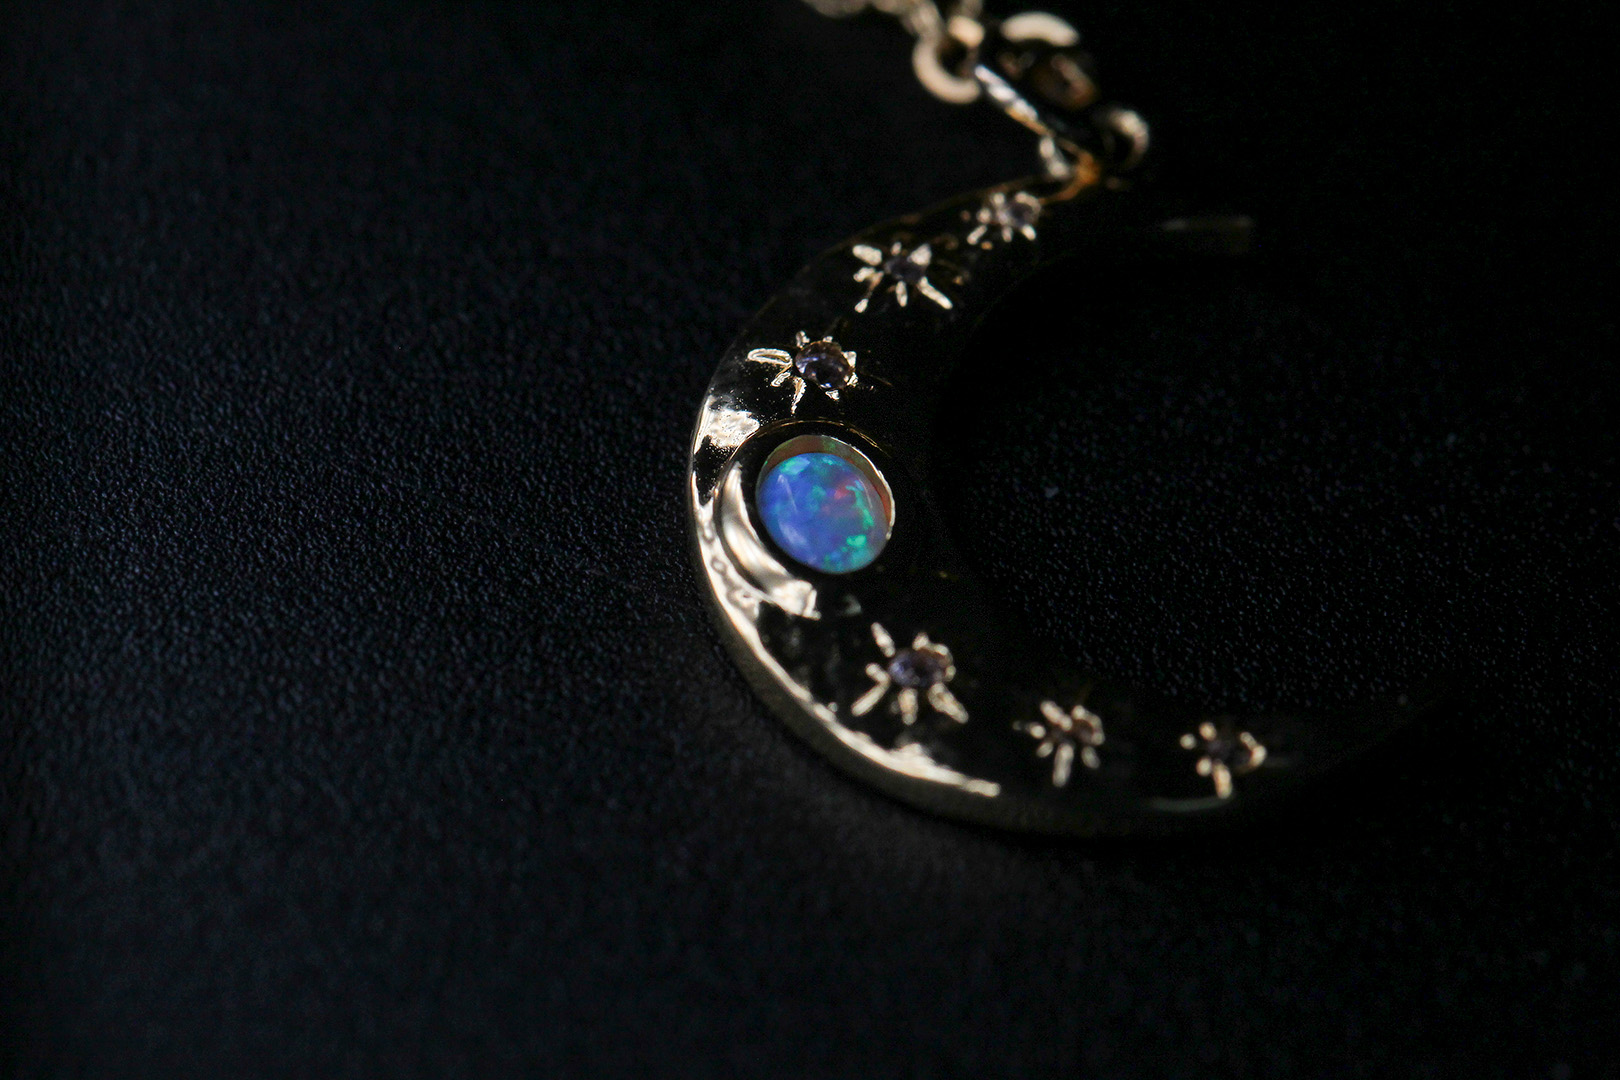
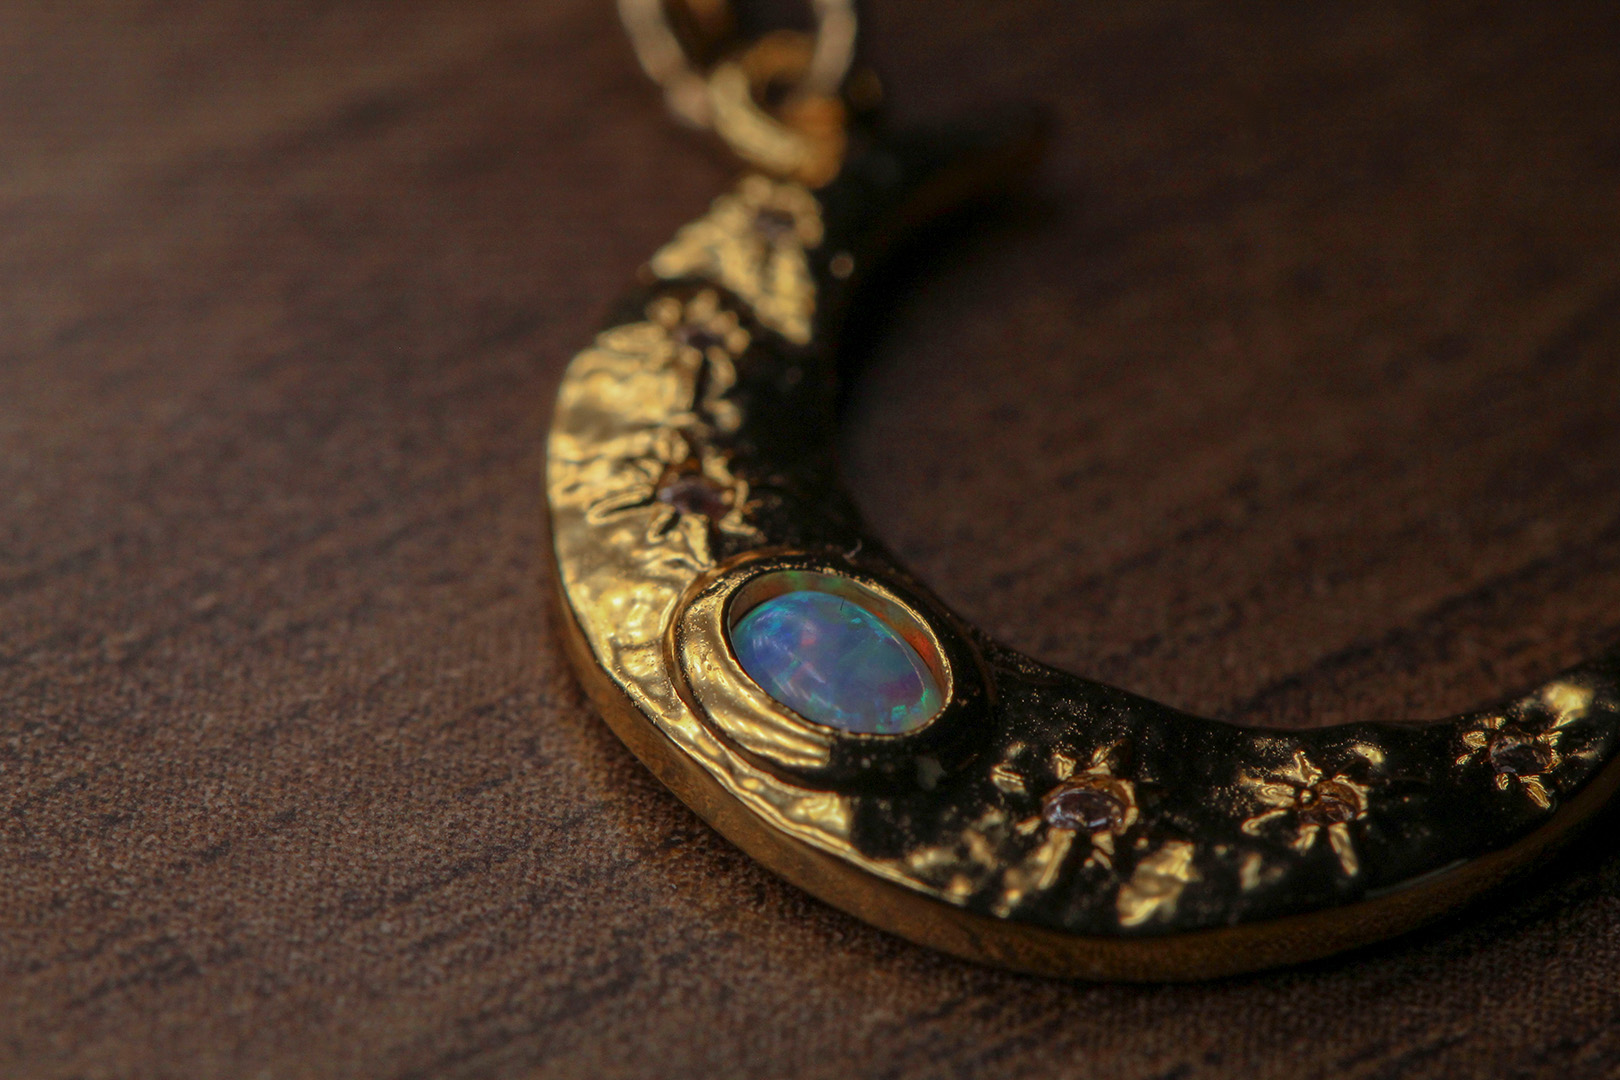
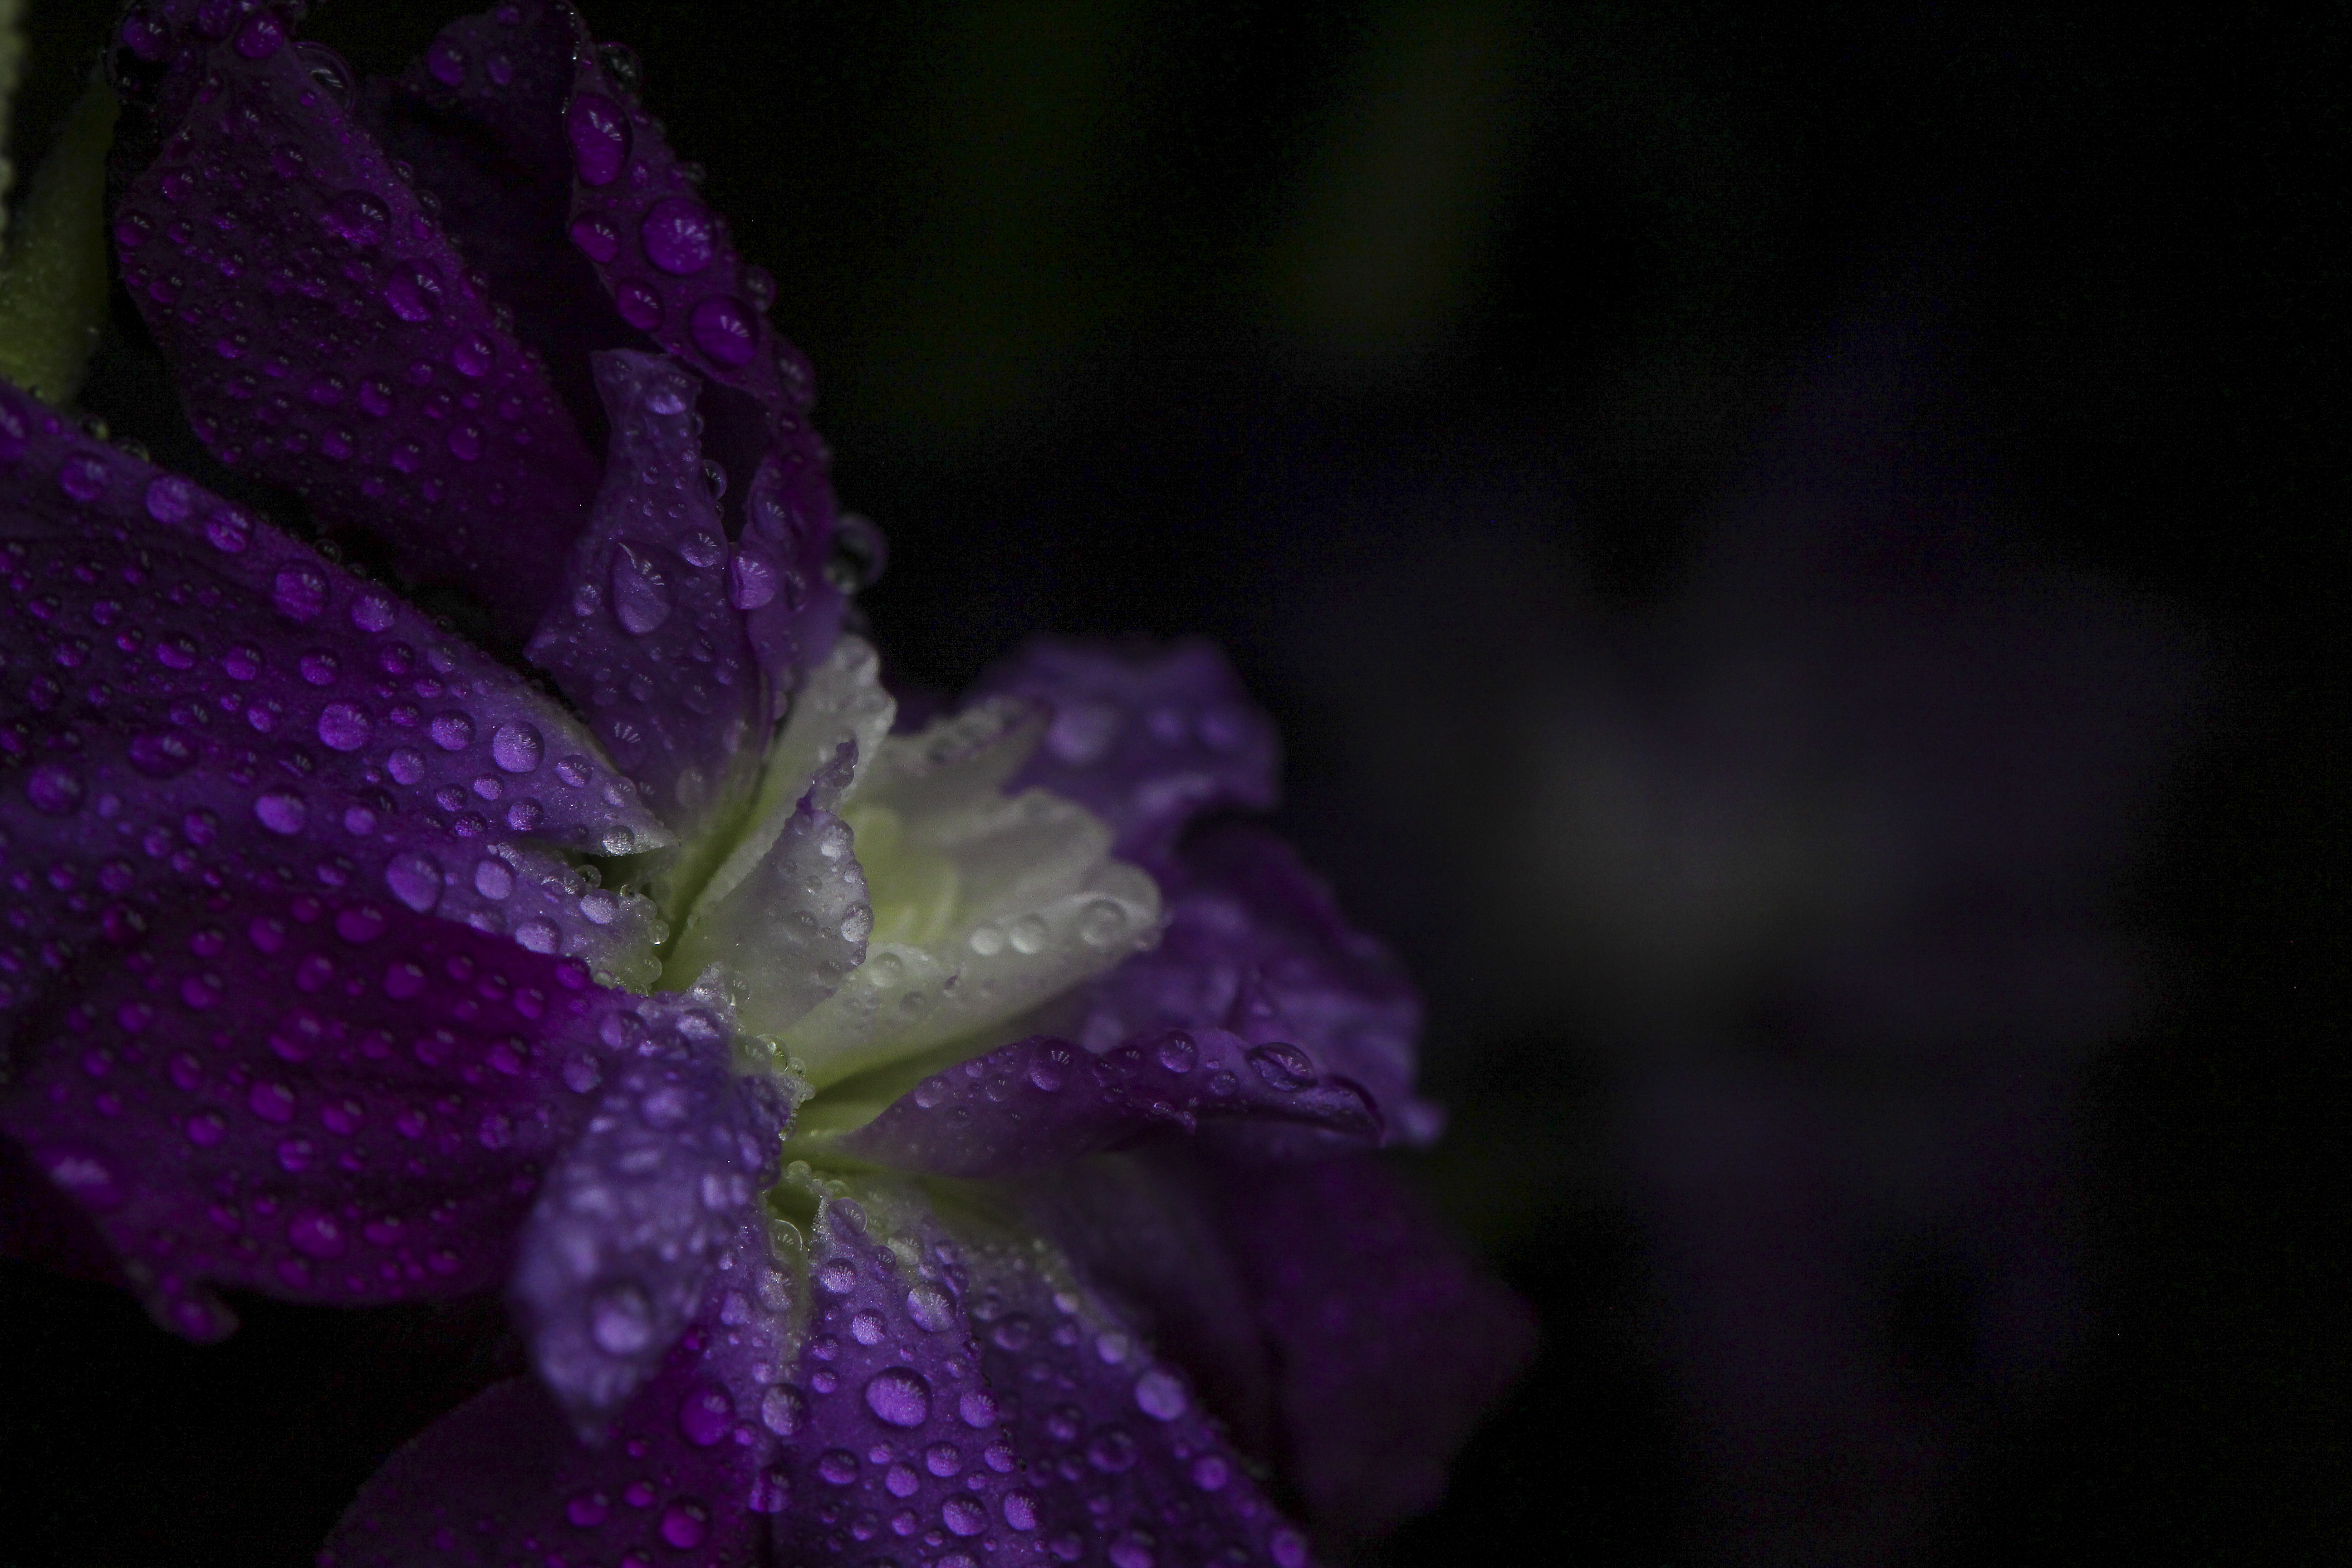
I entered 2 photo contests. One is “Fill the Frame” so I used a macro shot that I took this semester. Here’s the link to that contest: https://www.viewbug.com/contests/fill-the-frame-photo-contest-2023. I also entered the “Photo of the Month” contest and did another macro shot because I enjoyed them so much! Here’s the link to that contest: https://www.viewbug.com/contests/image-of-the-month-photo-contest-vol-90.
For part of my New Media project I decided to do light painting. I wanted to do something I hadn’t tried before. I did two shots with a normal set up, like I had practiced before and 2 that were macro shots. I was really intrigued to try a macro shot with light painting. It was harder than I thought it would be. I realized that I didn’t need to light the scene as long as I had with my other shots and that I had to get more creative with my stances to get different lighting on my subject. I also realized it was a lot harder to put a scene together than I realized, I think that took up a lot of my time! For those of you wondering, the typical settings for light painting are: F/16, SS 20″, ISO 100, Cloudy WB. Shady and AWB also work, it just depends on the kind of look you’re going for. Here is what I came up with!
Macro
Normal Lens
This week in class we learned about Macro Photography and were even able to take a bunch of photos in class. I was really excited about it and even brought a prop to take photos with. When you take macro photos you can use a few different methods. One, is having a macro lens. This lens is specifically made for Macro Photography. You can also use close up filters on a normal zoom lens (70-100mm) and get the same effect. Like I said earlier, we took pictures in class and unfortunately for me my SD card didn’t properly save them. I lost all of my photos and since I don’t have a macro lens or close up filters, I almost had a heart attack. Luckily for me the school had a macro lens I could use and I was able to retake some photos today. They aren’t nearly as nice as the ones I took in class, but they’ll do!
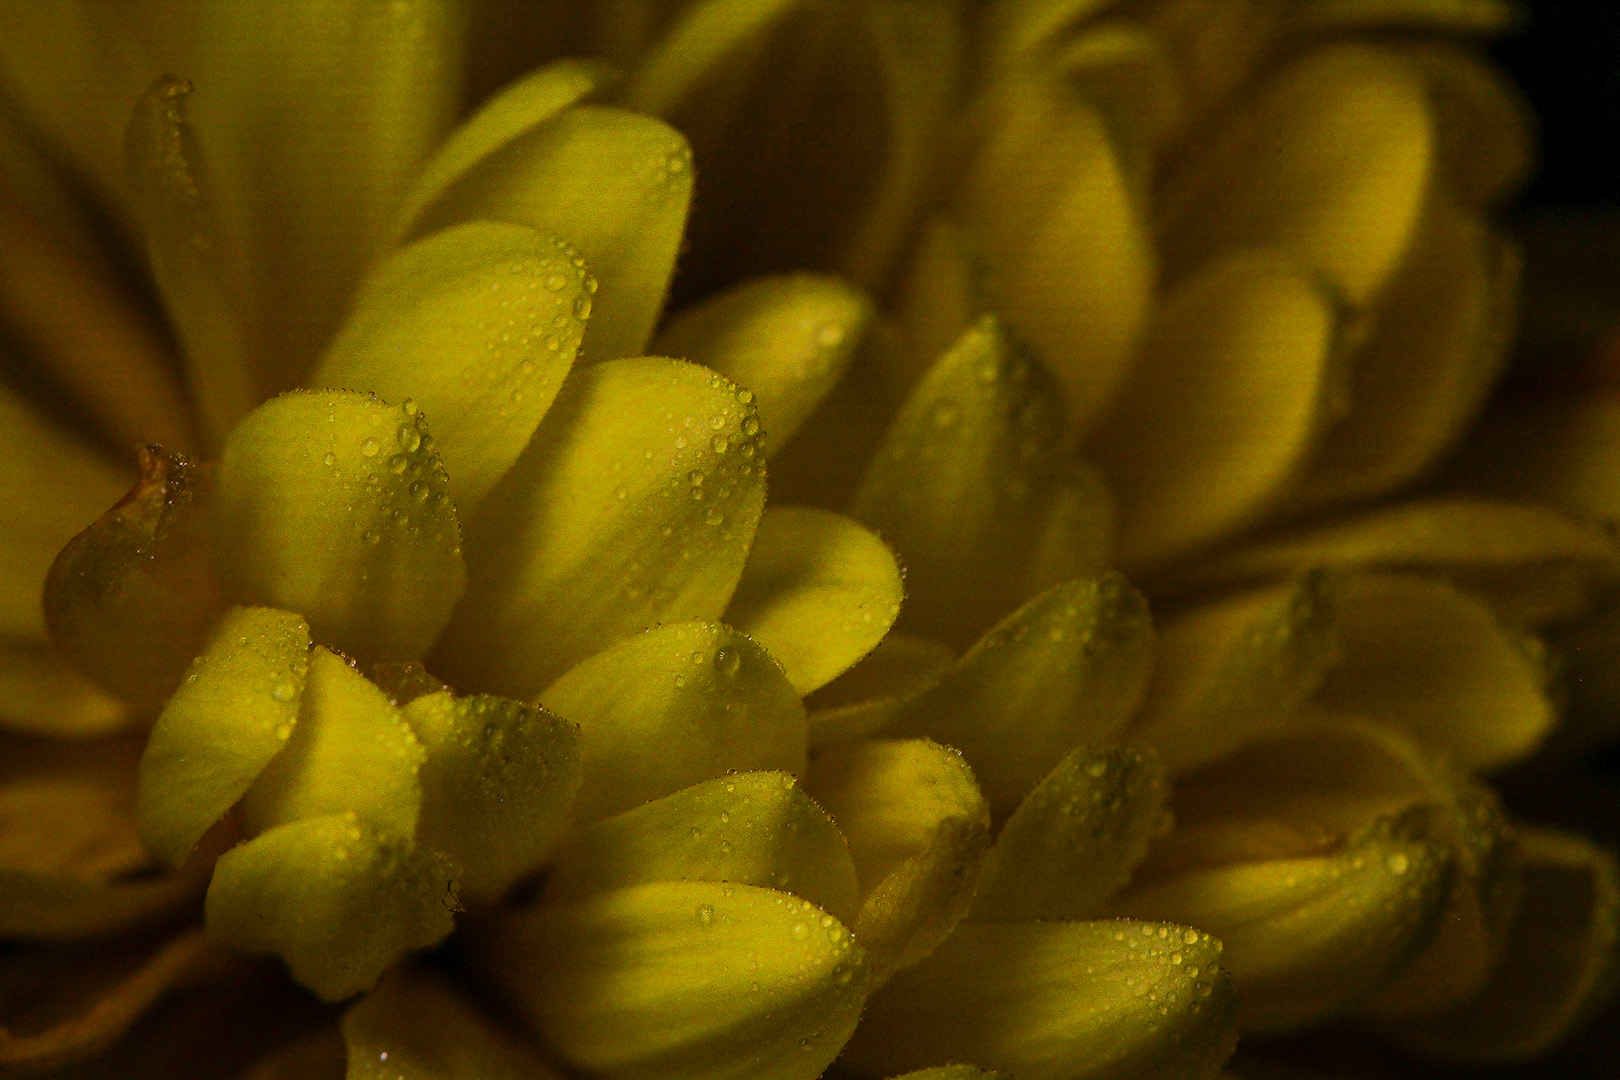
If there’s one thing I would change about my photos would be lighting. I forgot about how much lighting is required for macro shots.
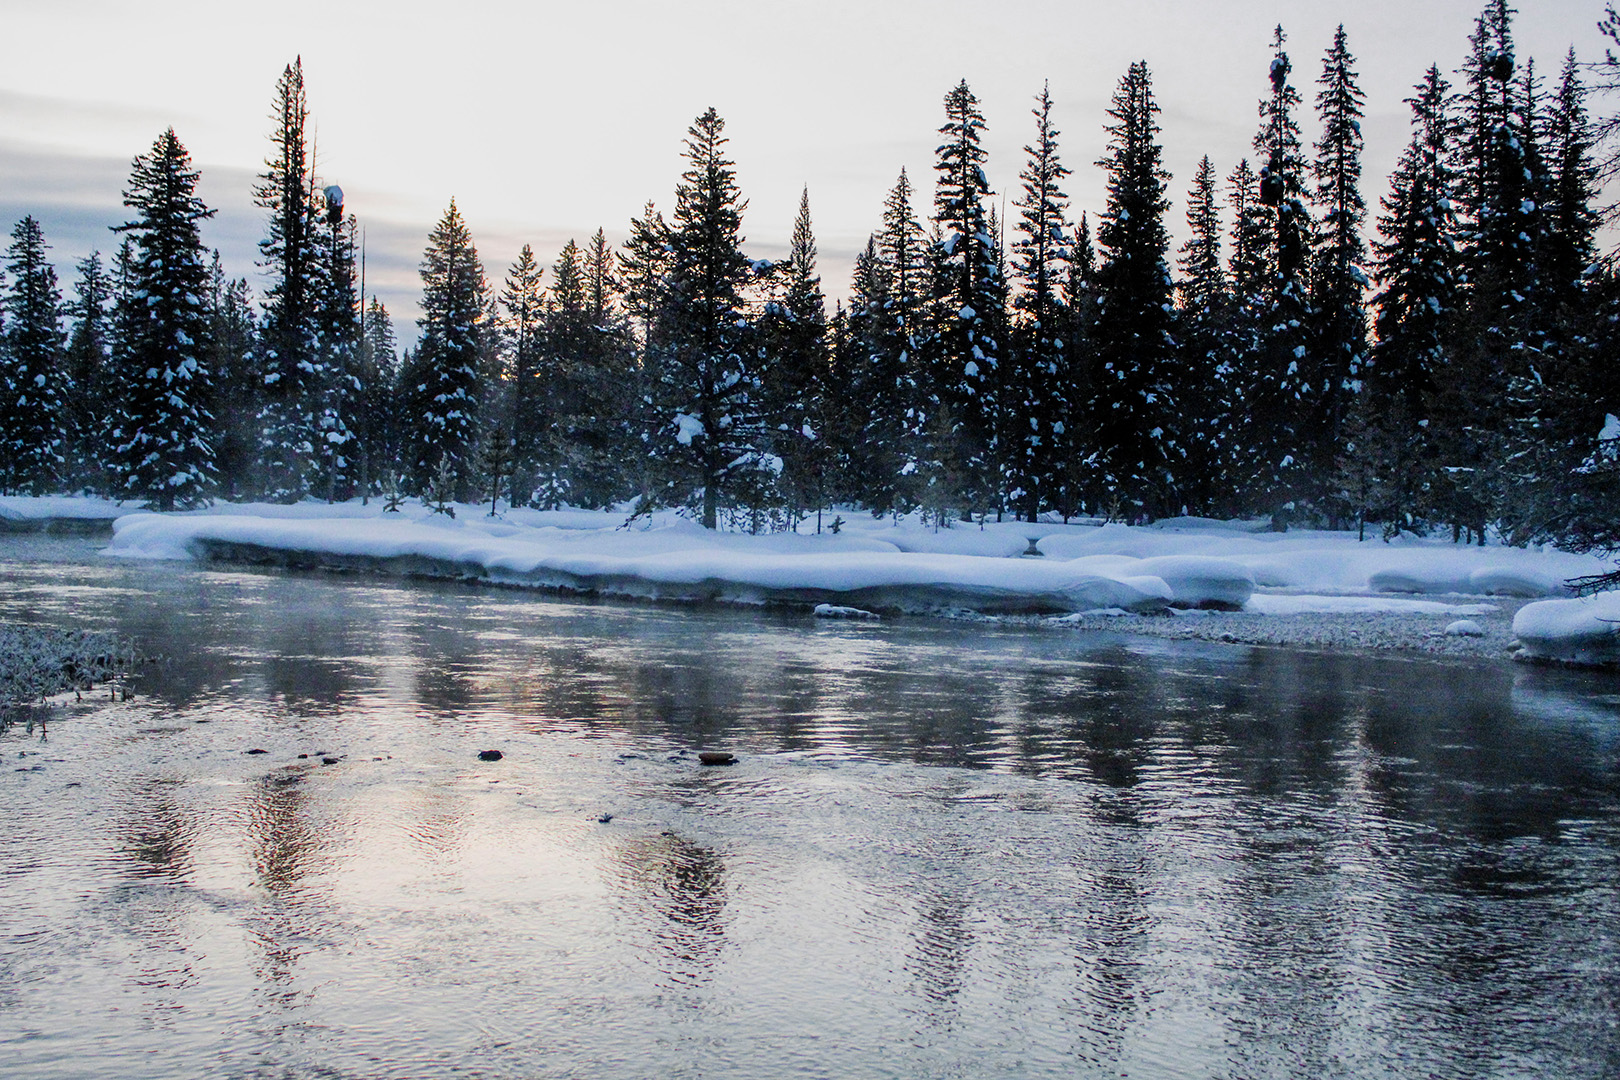
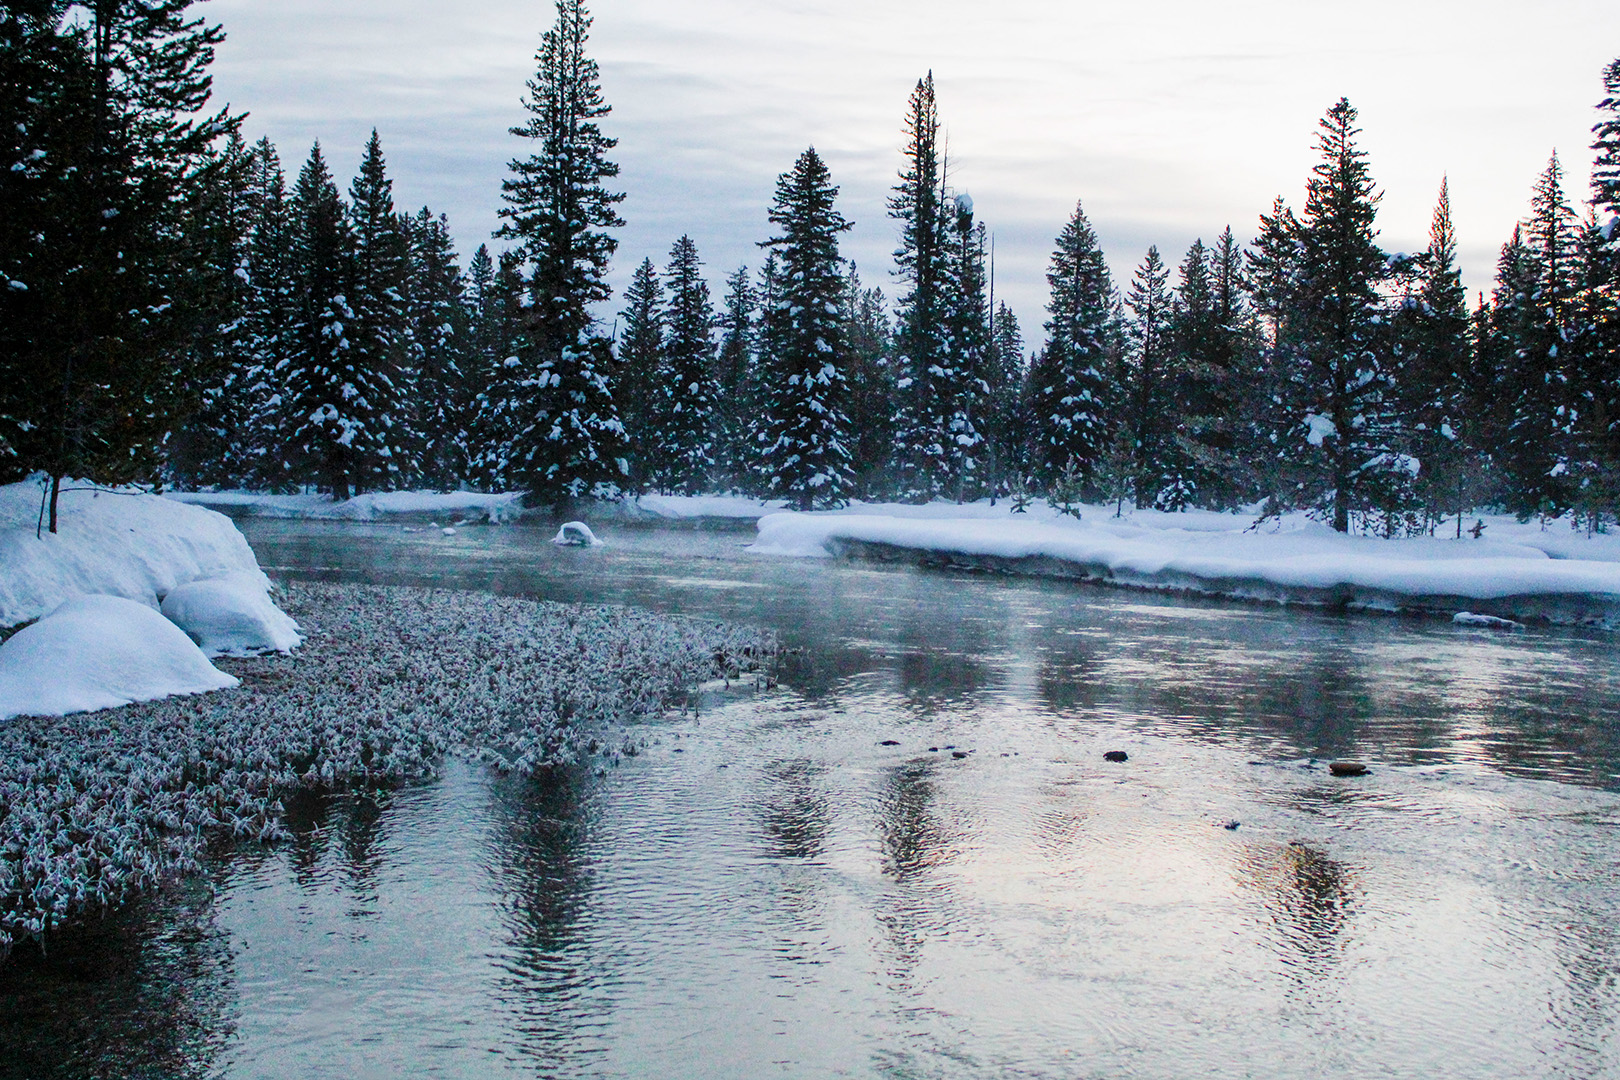
At Island Park I was able to learn about bracketing and utilize it in pictures. I thought I had the hang of it, so I didn’t allow any help…only to realize that I hadn’t done it correctly! It’s kind of funny when you think about it. Bracketing is a setting you can do on your camera that takes 3 photos one immediately after the other at different exposure levels. You’re supposed to have it set to -2 exposure and +2 exposure, as well as the originally set exposure in the first picture. I accidentally only did 1. So while I technically did bracketing, I didn’t quite do it properly. I also took a few architectural photos in the house. It was a very beautiful cabin with a lot of fun qualities in it.
Landscape

I had the opportunity to take portraits at Island Park for the first time. I’ve never had to direct models that weren’t family members, and even then I tended to take candid photos over staged ones. I was very nervous to direct people and wasn’t the best at it, especially in the beginning. I’m really grateful for the opportunity I had to learn and grow!

This photo was taken midday with natural lighting. It was cloudy so it helped a lot with the exposure. This shot was fun, especially with the horse. I had a fast shutter speed so no matter if the horse was moving or not, it would be in focus and not blurred.
As you can probably tell from the background, this photo was taken in the same spot as the above one, and same time of day. The photo was taken with natural lighting.
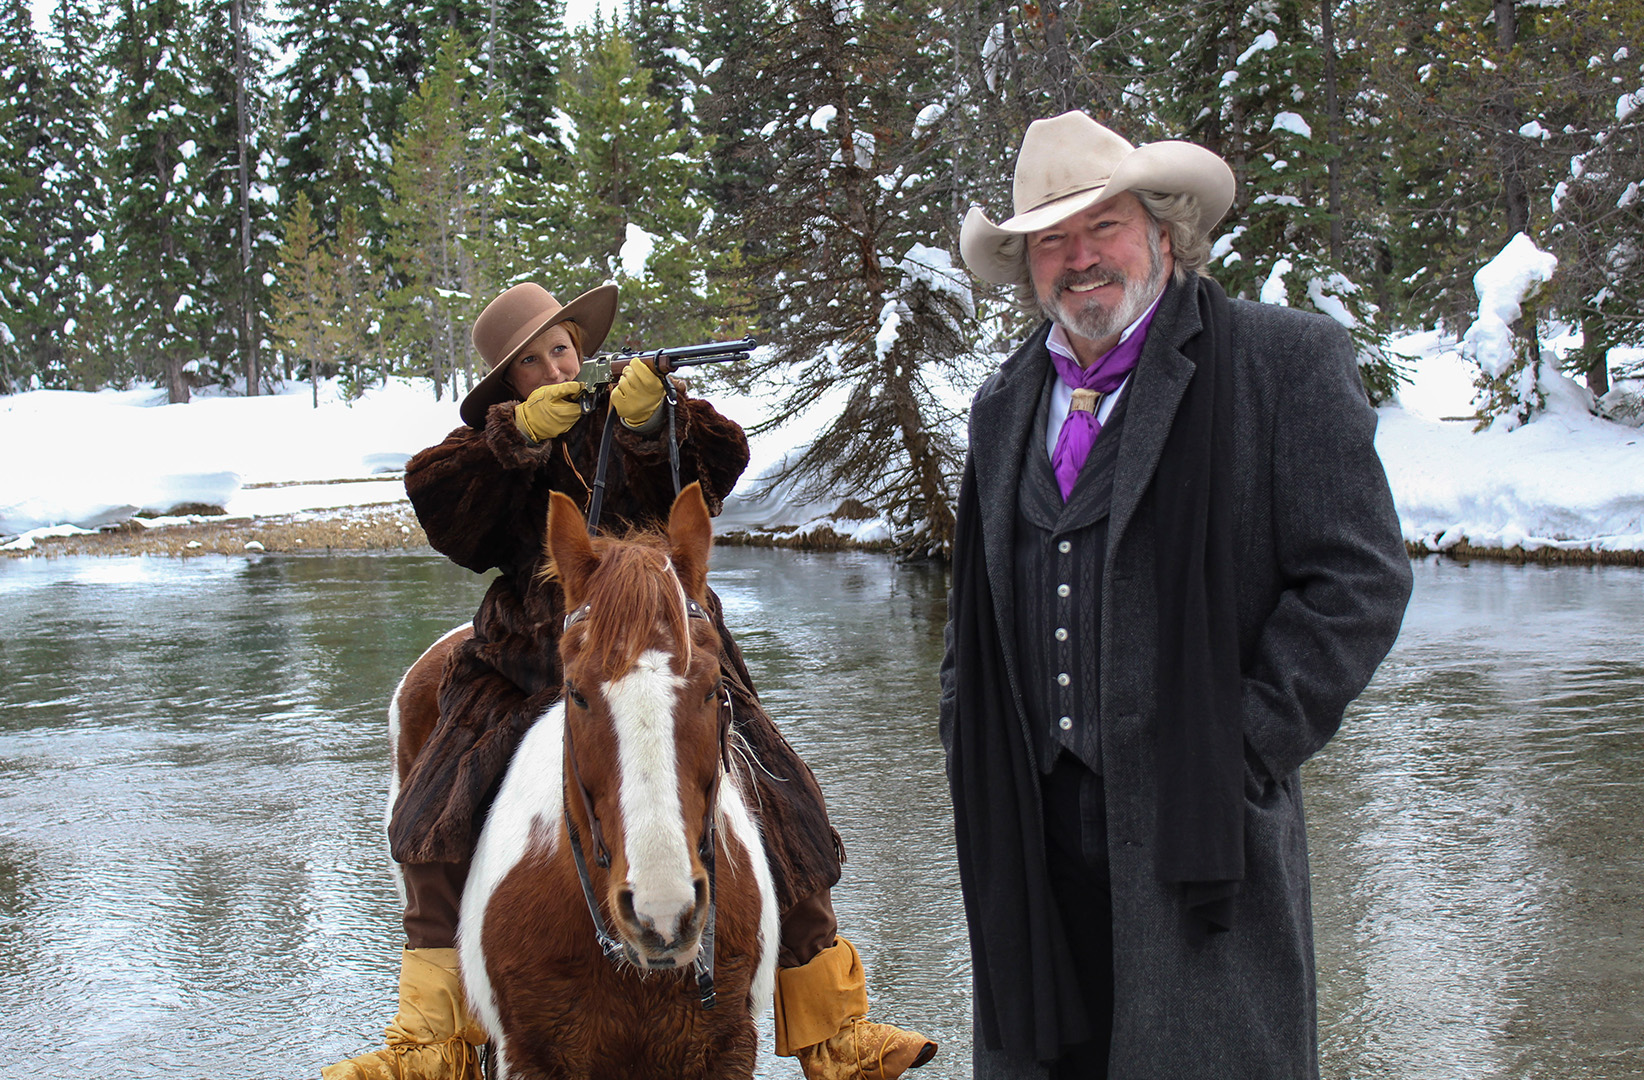
This photo was taken in the same spot and same time of day as the other two, the lighting was natural lighting. I was trying so hard to not laugh with this photo, he had no idea she was pointing the gun at him! The smile on his face about killed me! Maybe ignorance isn’t all bliss.
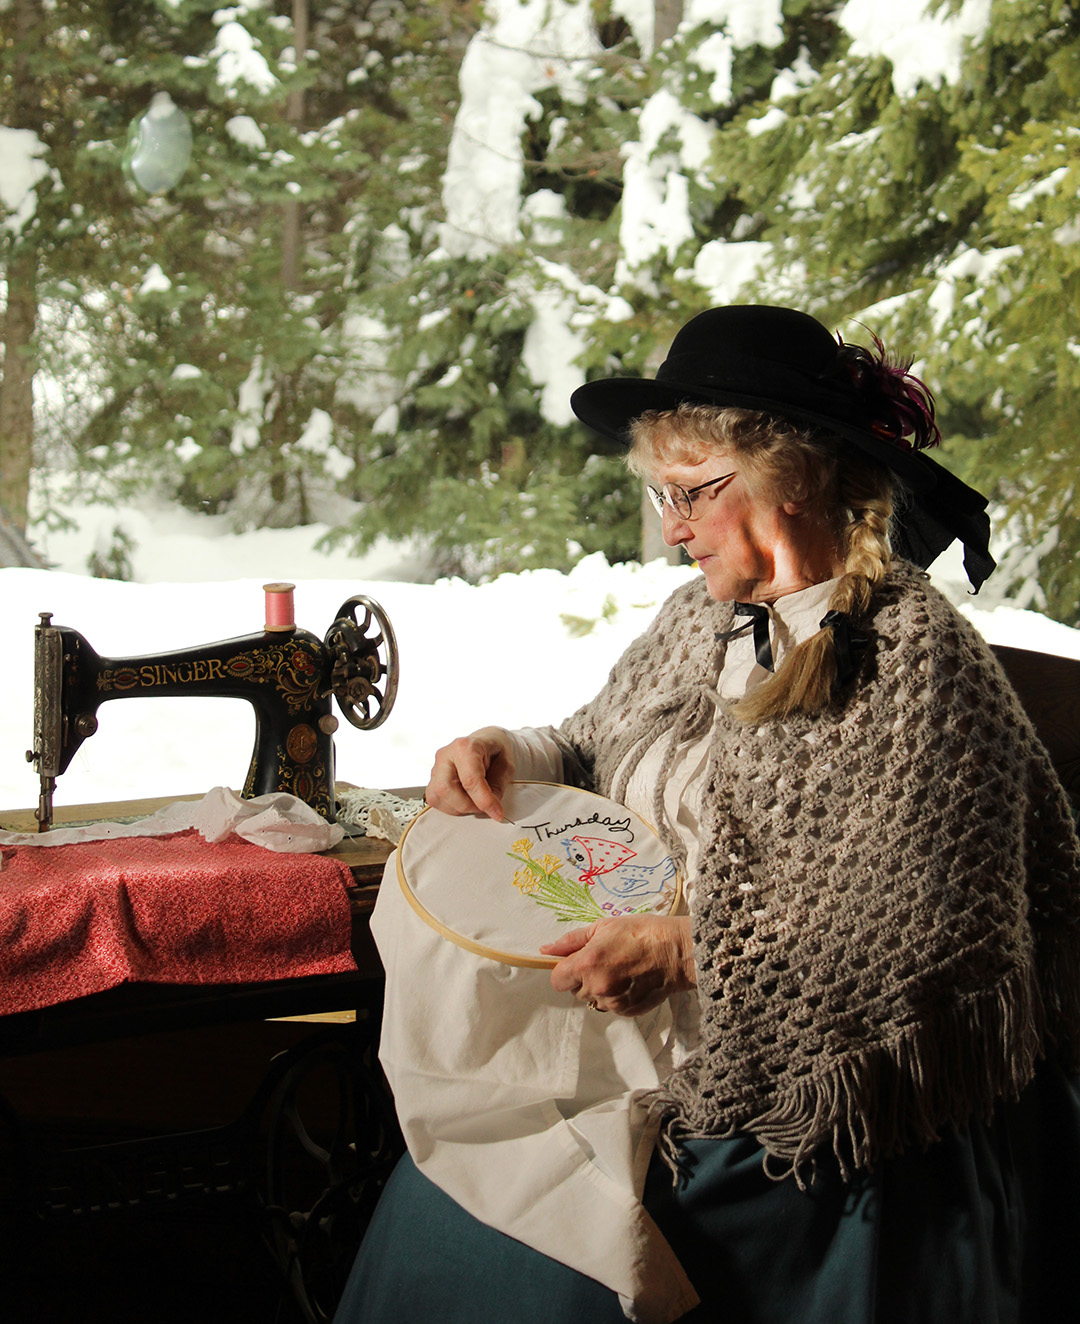
This photo was taken midday with continuous light and natural light. There was one big light providing the source that we see on her face and hands, and some back light from the window. It was fun getting to move her around with the props that were provided at this station.

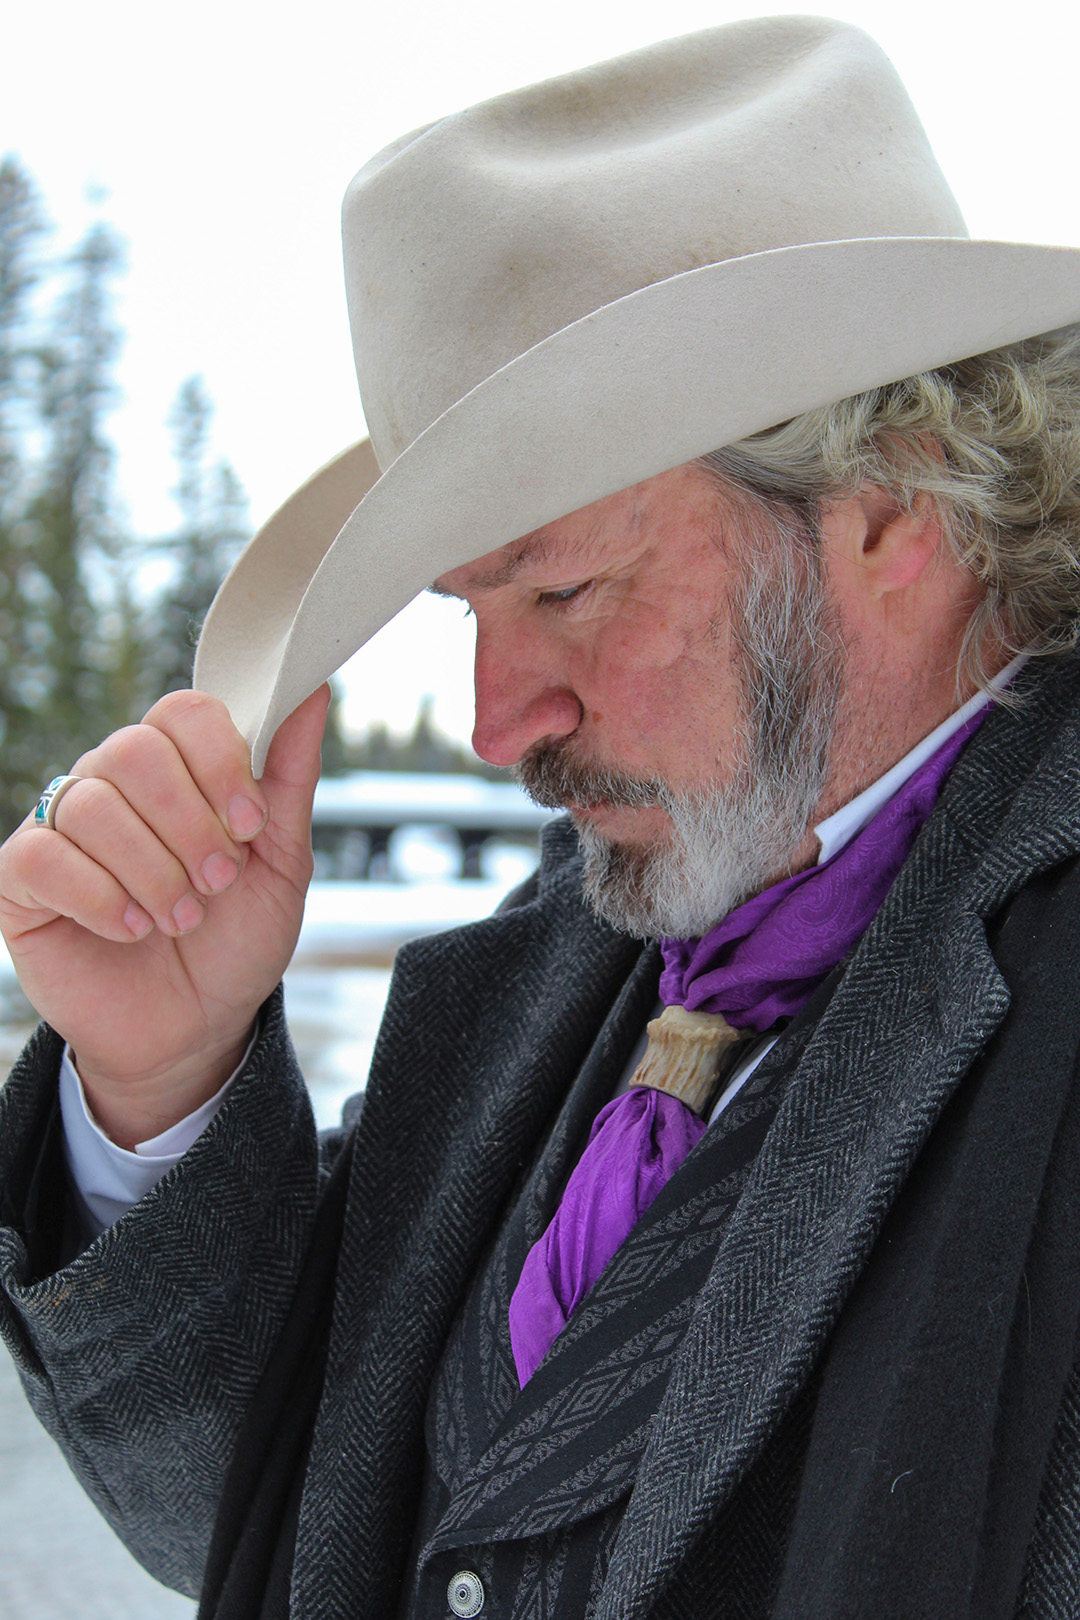
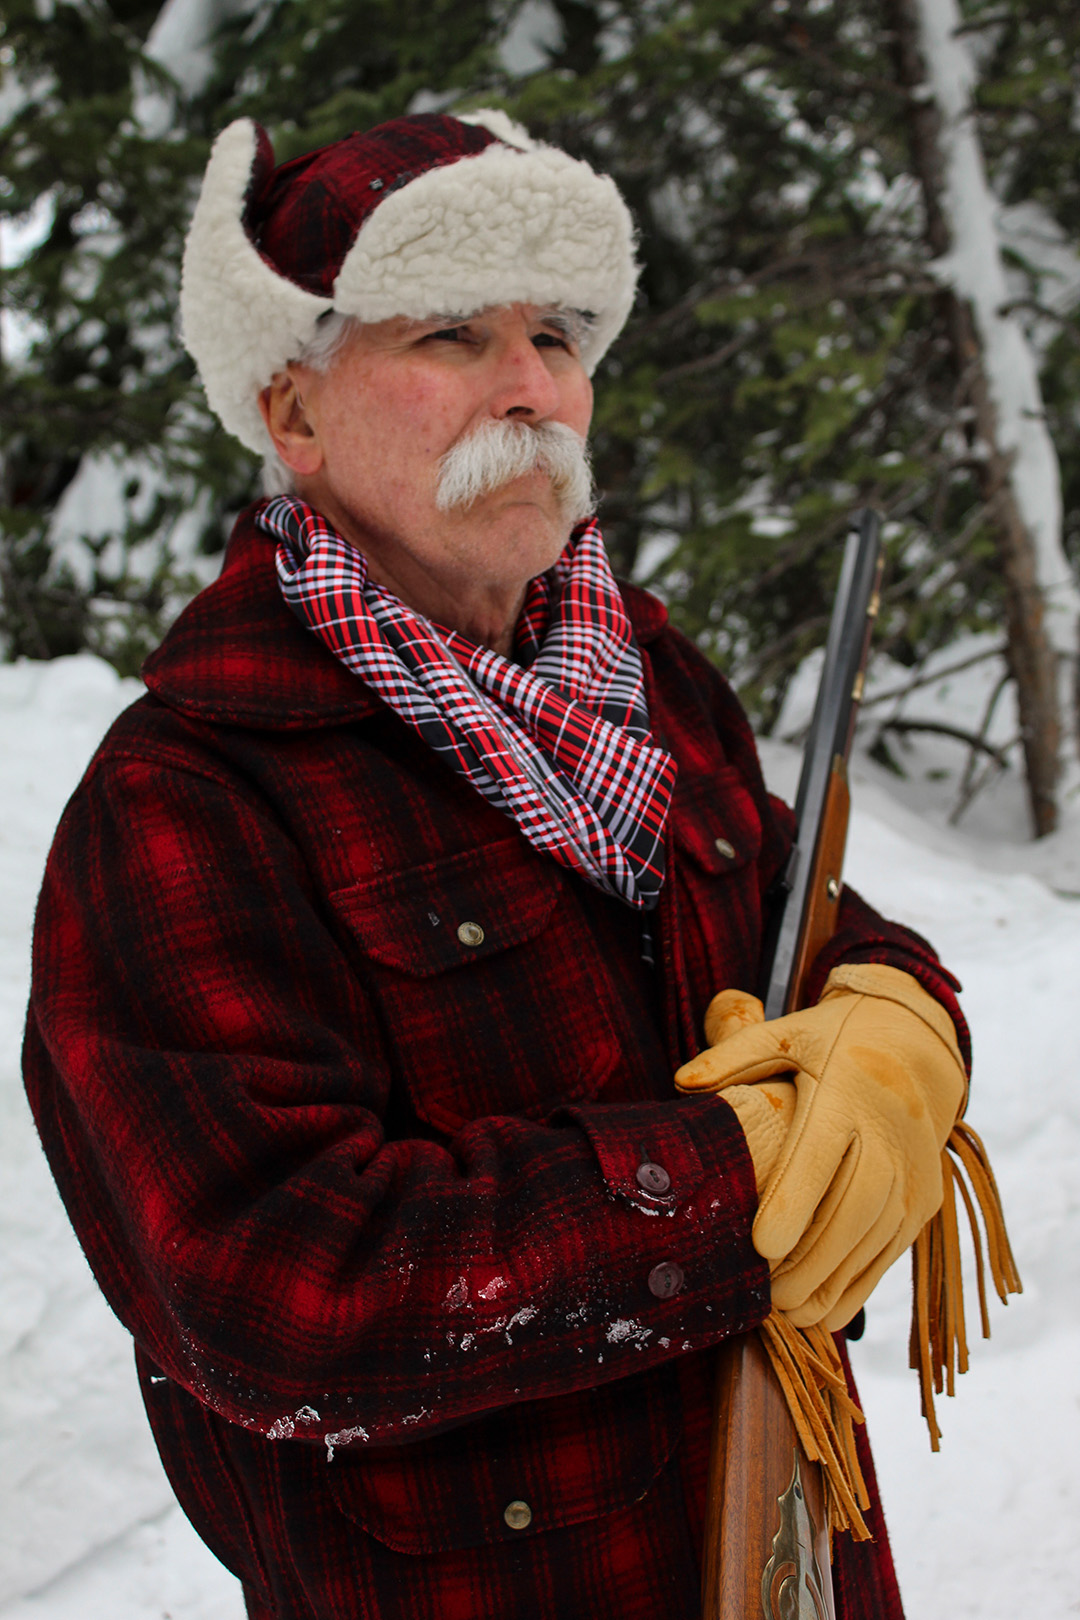
What a cowboy! I loved this guy and his outfit. I took his picture under continuous light. There were two lights set up to light him. At this point I’d gotten a little more confident with moving models. This shot was also taken at midday, but it didn’t matter too much because we lit him with lights rather than using natural lighting.
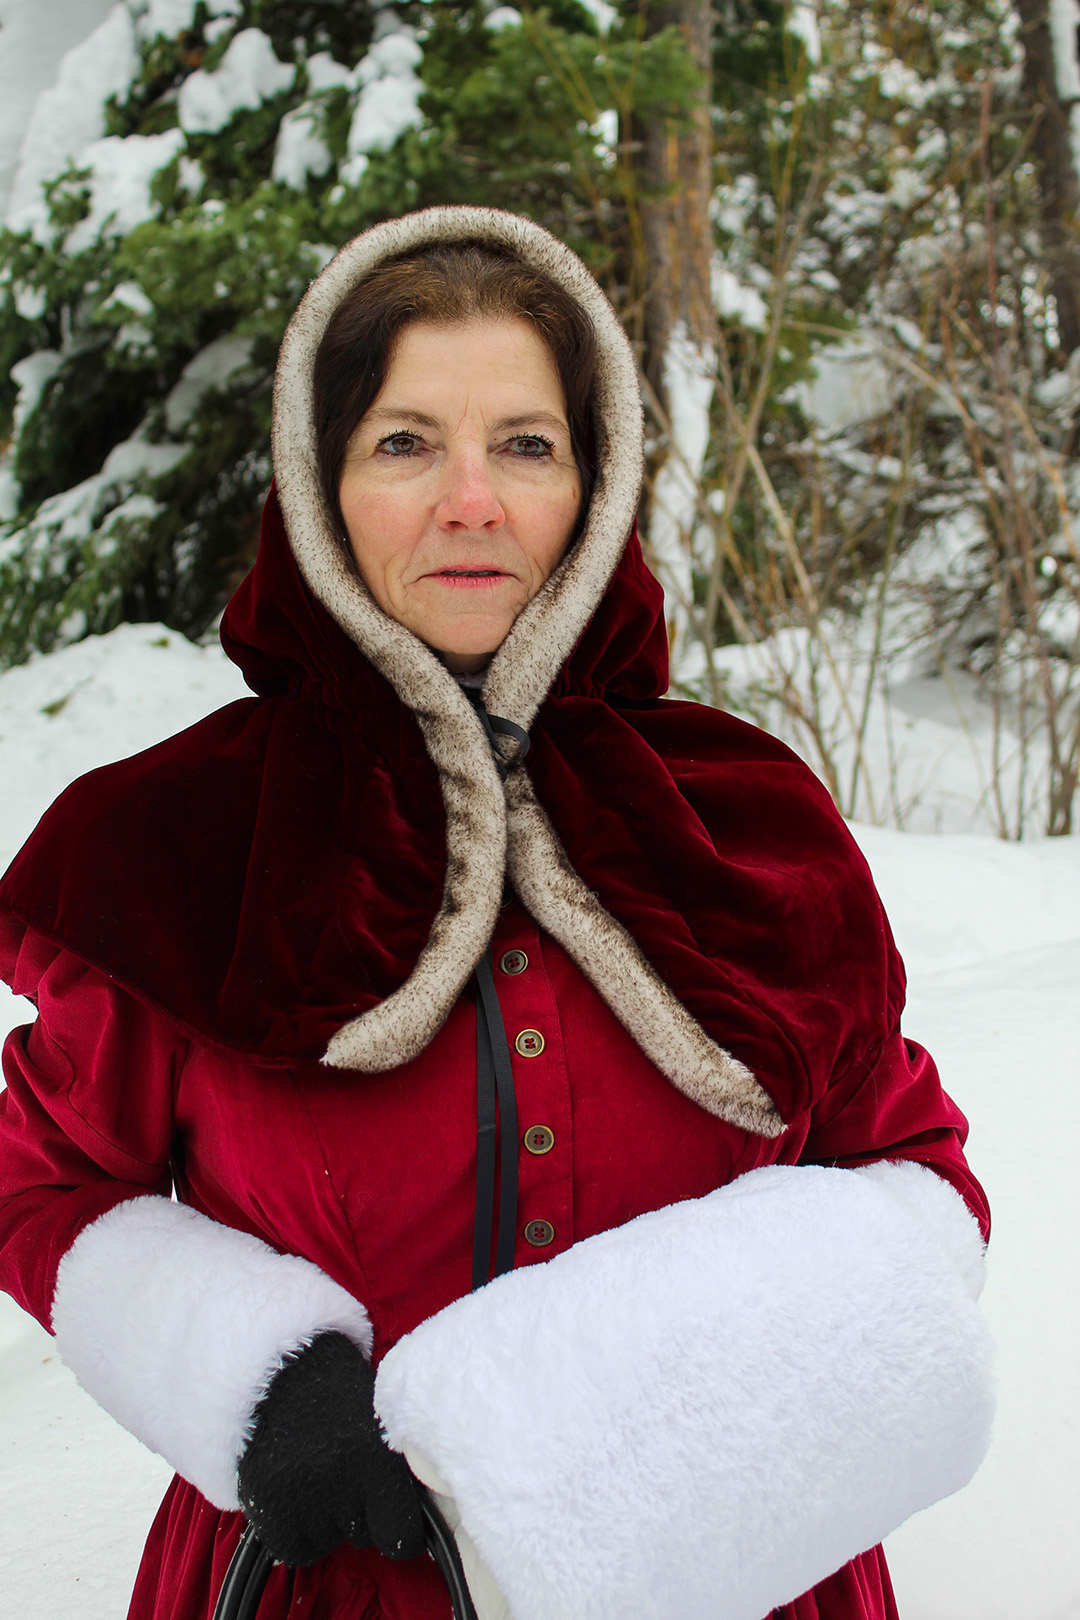
I took this photo outside, midday, with natural lighting. I’d really gotten used to directing models at this point and had a lot of fun moving around her and her partner. As I said earlier, the clouds made it easy on my camera to expose.
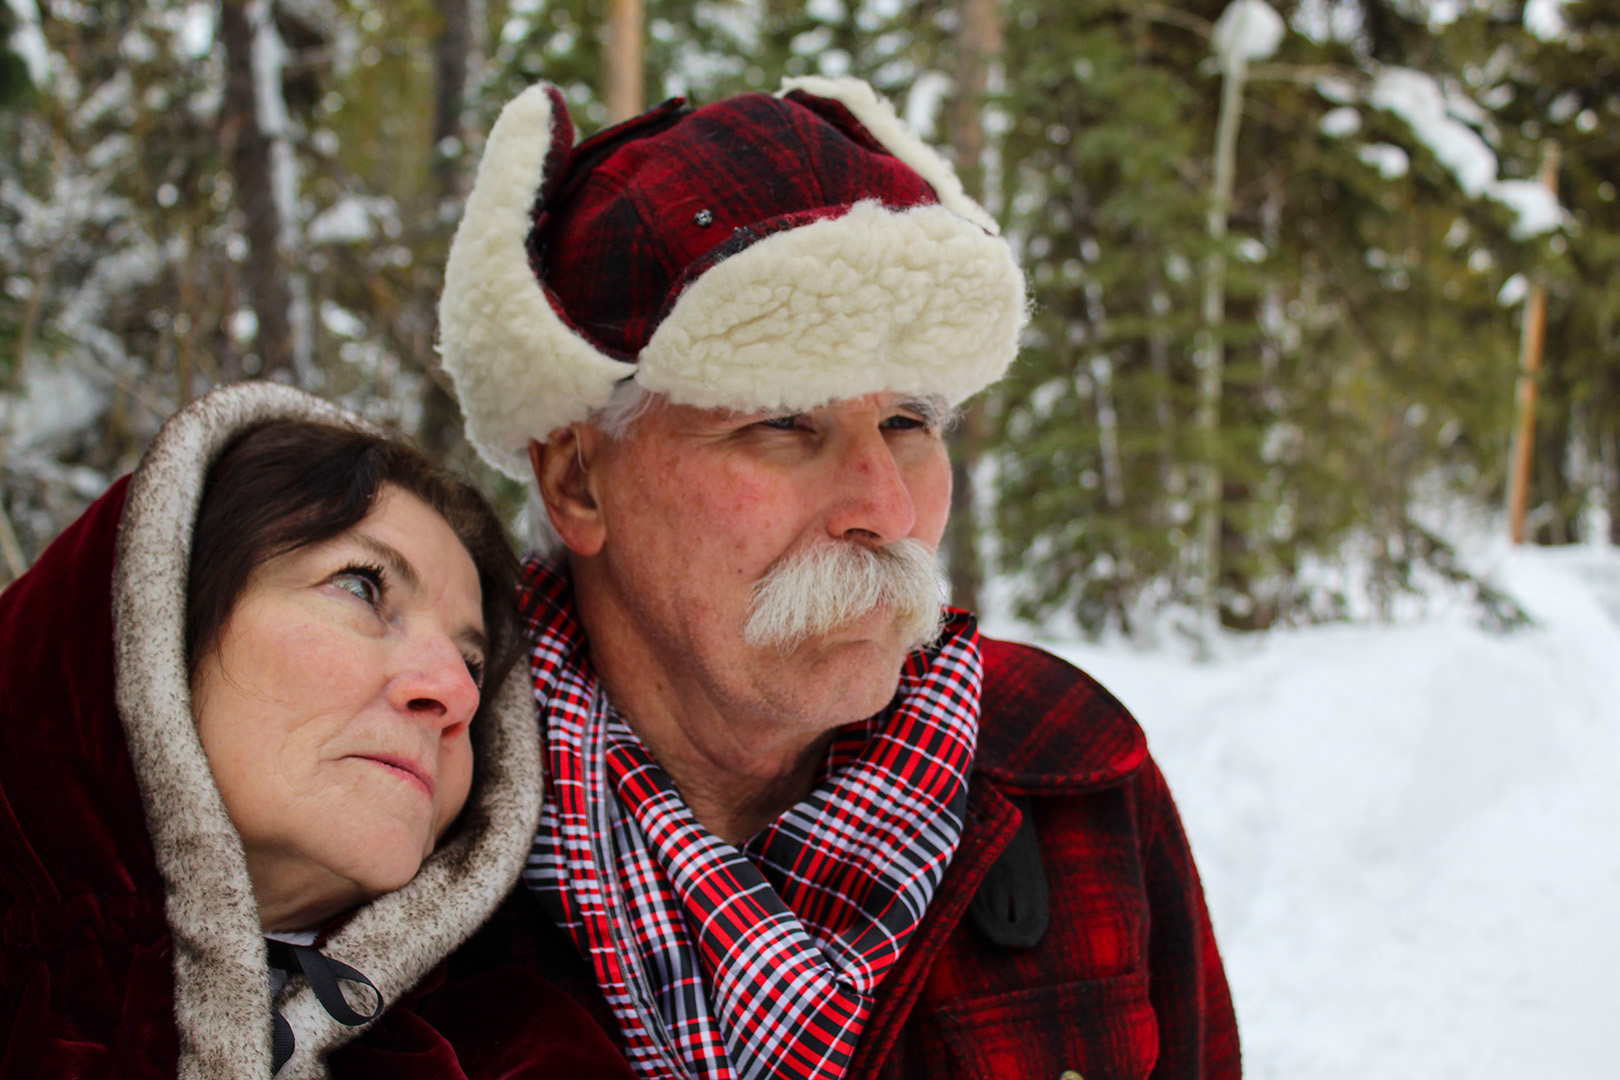
Santa Claus? No, but he sure looks like him! This photo was taken in the same conditions as the previous, midday and natural lighting. We tried a few different poses, even one of him holding a purse! I was able to final break the uncomfortable tension of moving models and enjoy myself.
A lovely and easy couple to take pictures of. They had the best energy and you could tell they really enjoy being around one another. I took this photo of them at midday with natural lighting.
At this point I’d gotten very used to moving models and had him doing all sorts of fun poses and costume changes. I took this photo midday with natural lighting. It was a great experience to be able to get out all funkiness with moving models and grow comfortable in it. I’m very grateful for the opportunity I had to work with such great and easy going people!
Over the weekend I was able to go up to Island Park and take a multitude of shots! Here are some of them!
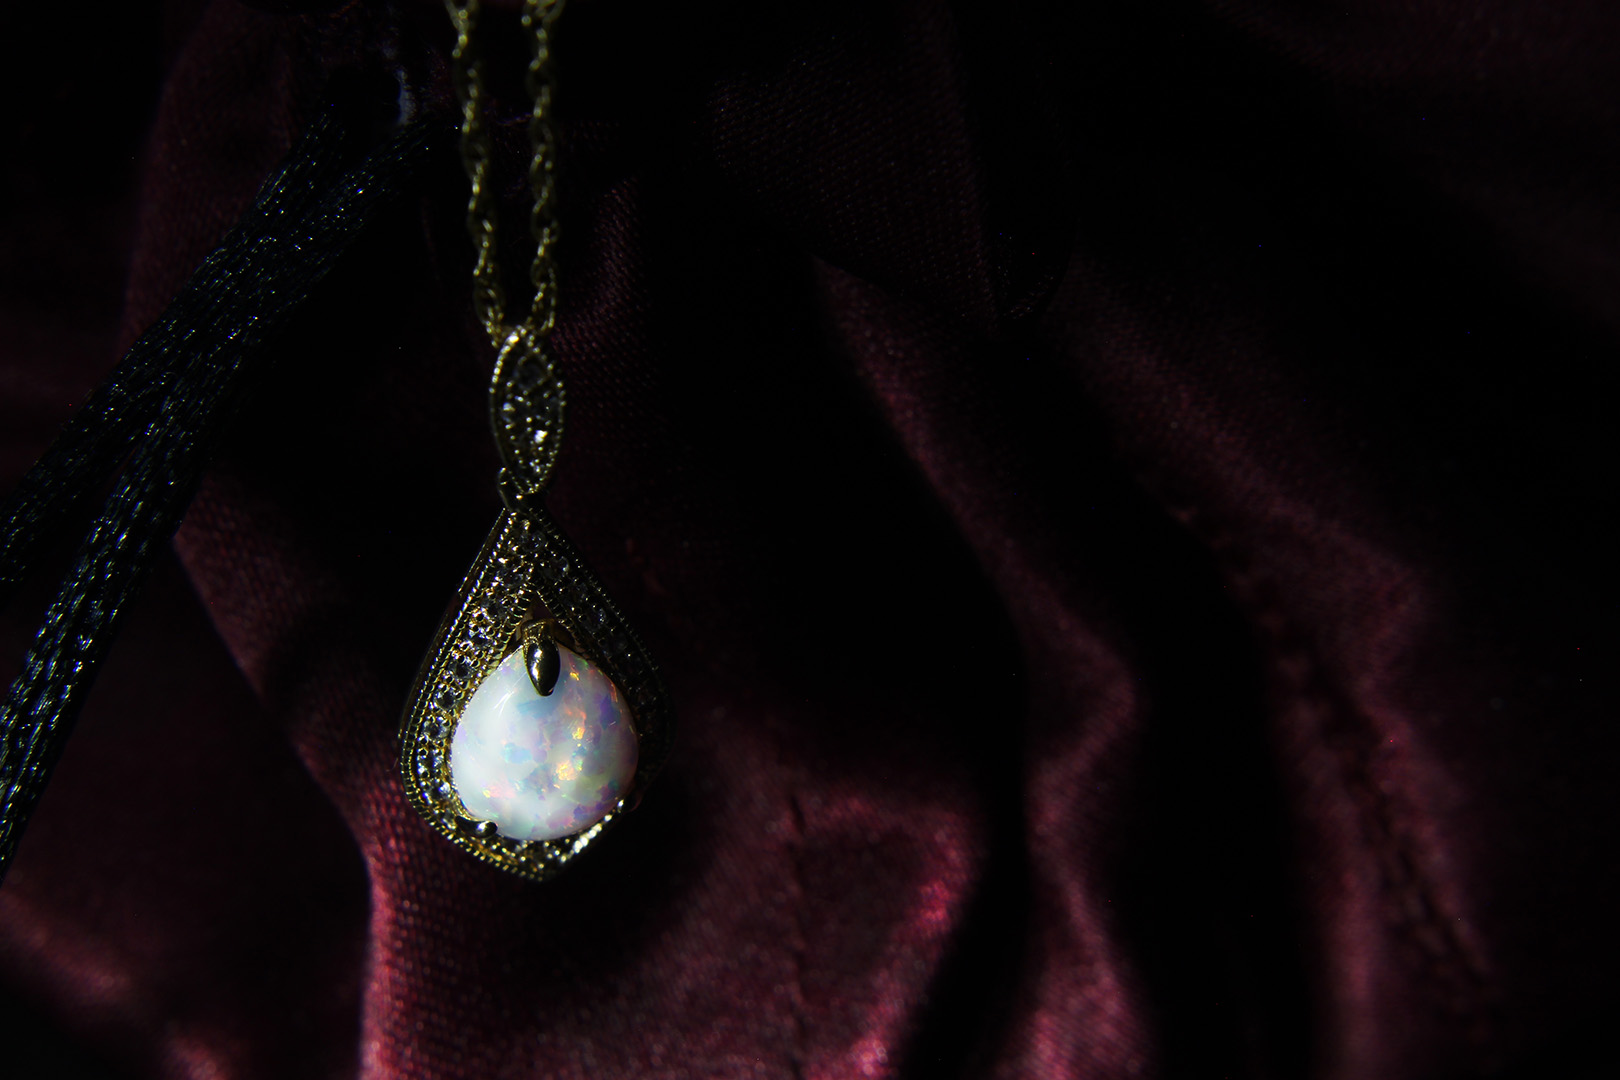
These are two photos I took for “Product Photography”. I really enjoyed the set up of the first shot and loved the warm light. The second shot was nice to take because I had to change my settings from staged indoor lighting to ambient outdoor lighting, which I haven’t done before. It was fun being able to do that and learning what worked best and what didn’t.
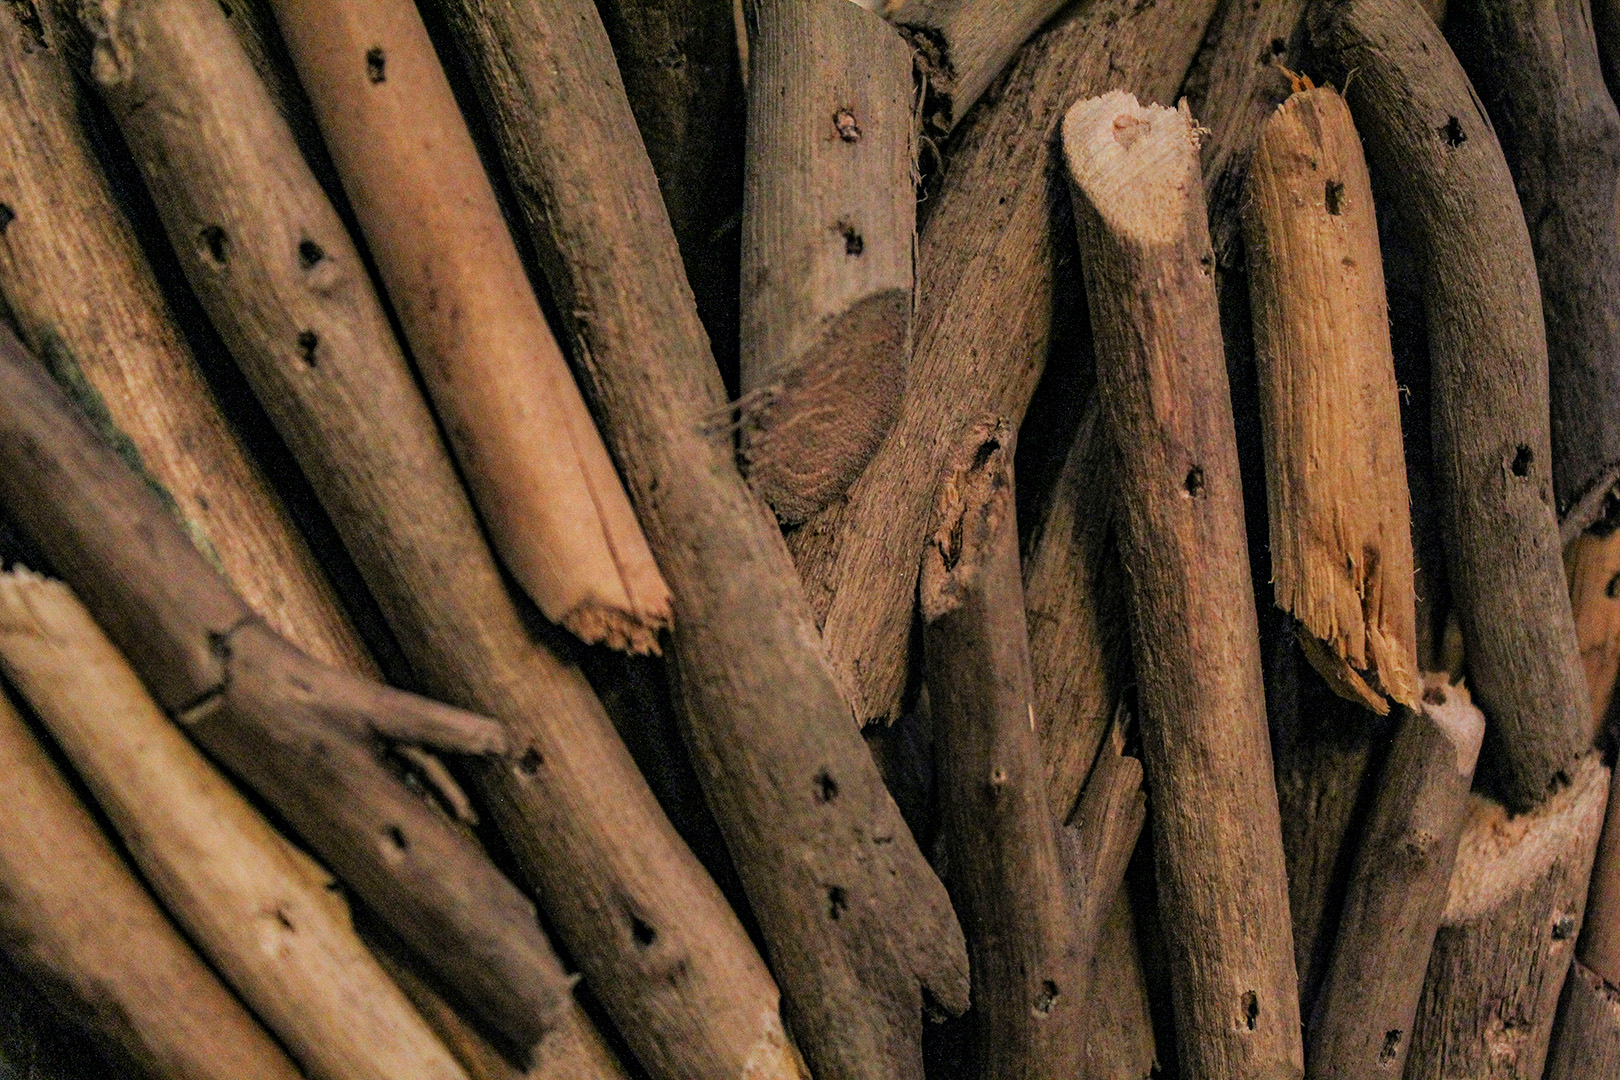
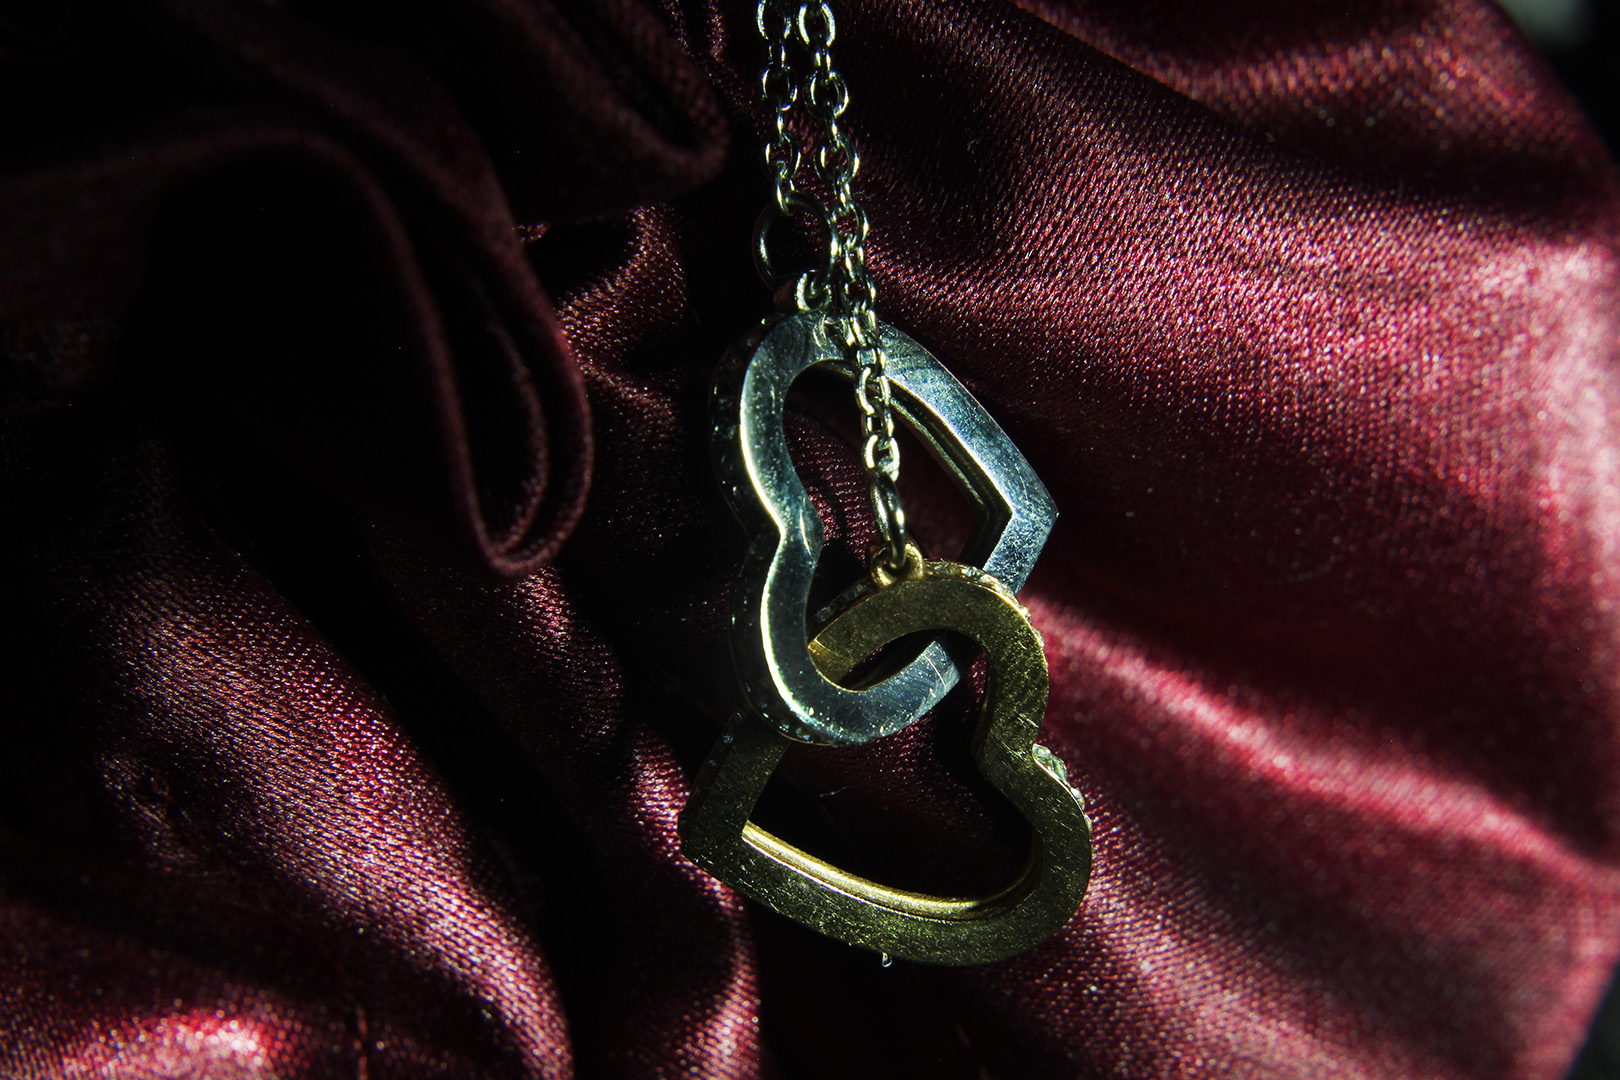
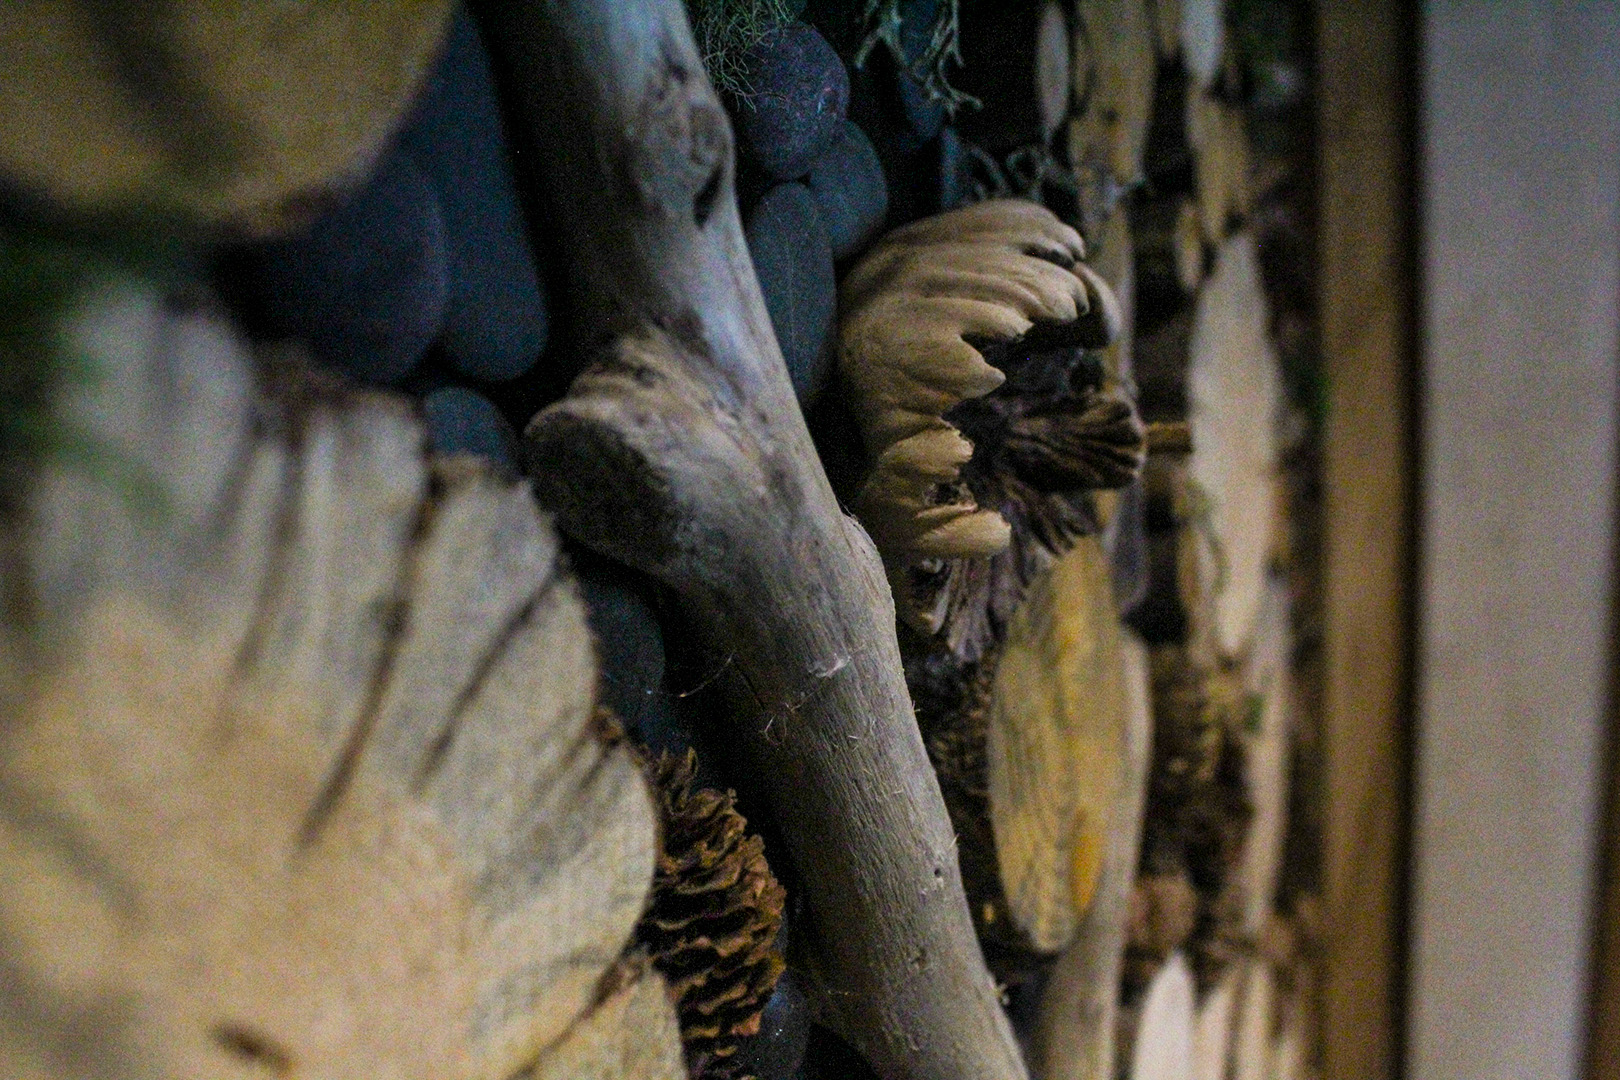
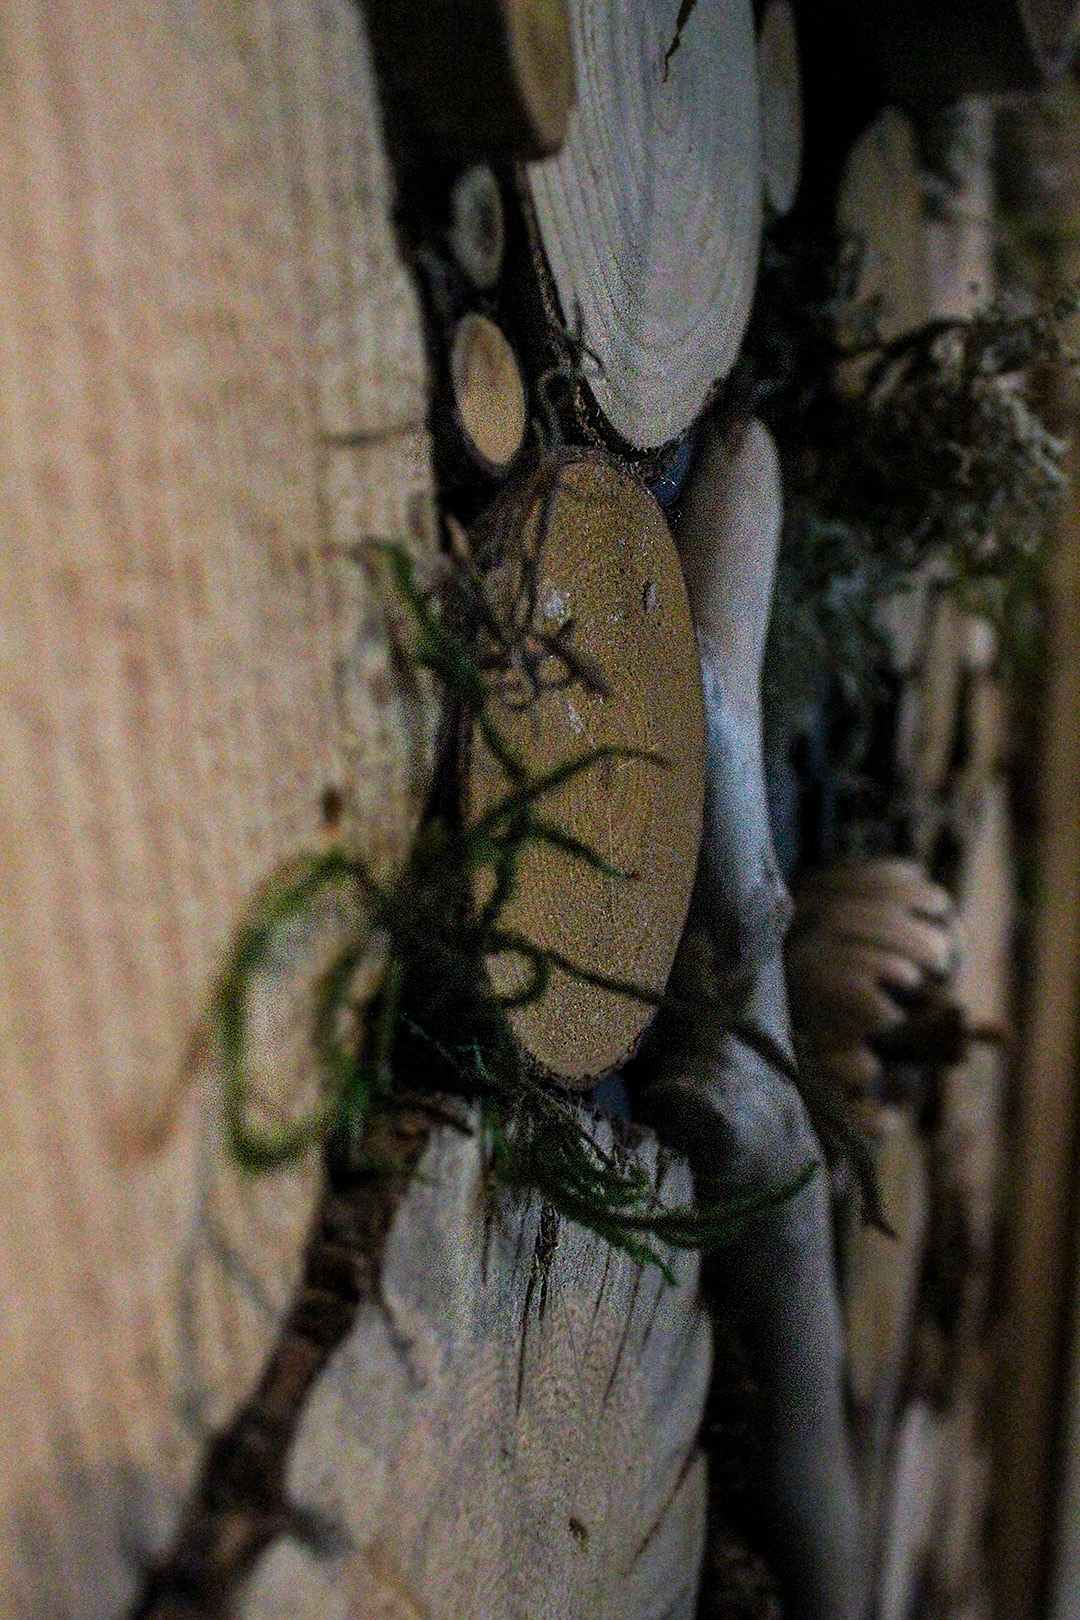
This is a photo of a wooden heart I found in the house. I thought the picture as a close up looked really cool, and almost like a pile of sticks on the ground. Who would know?
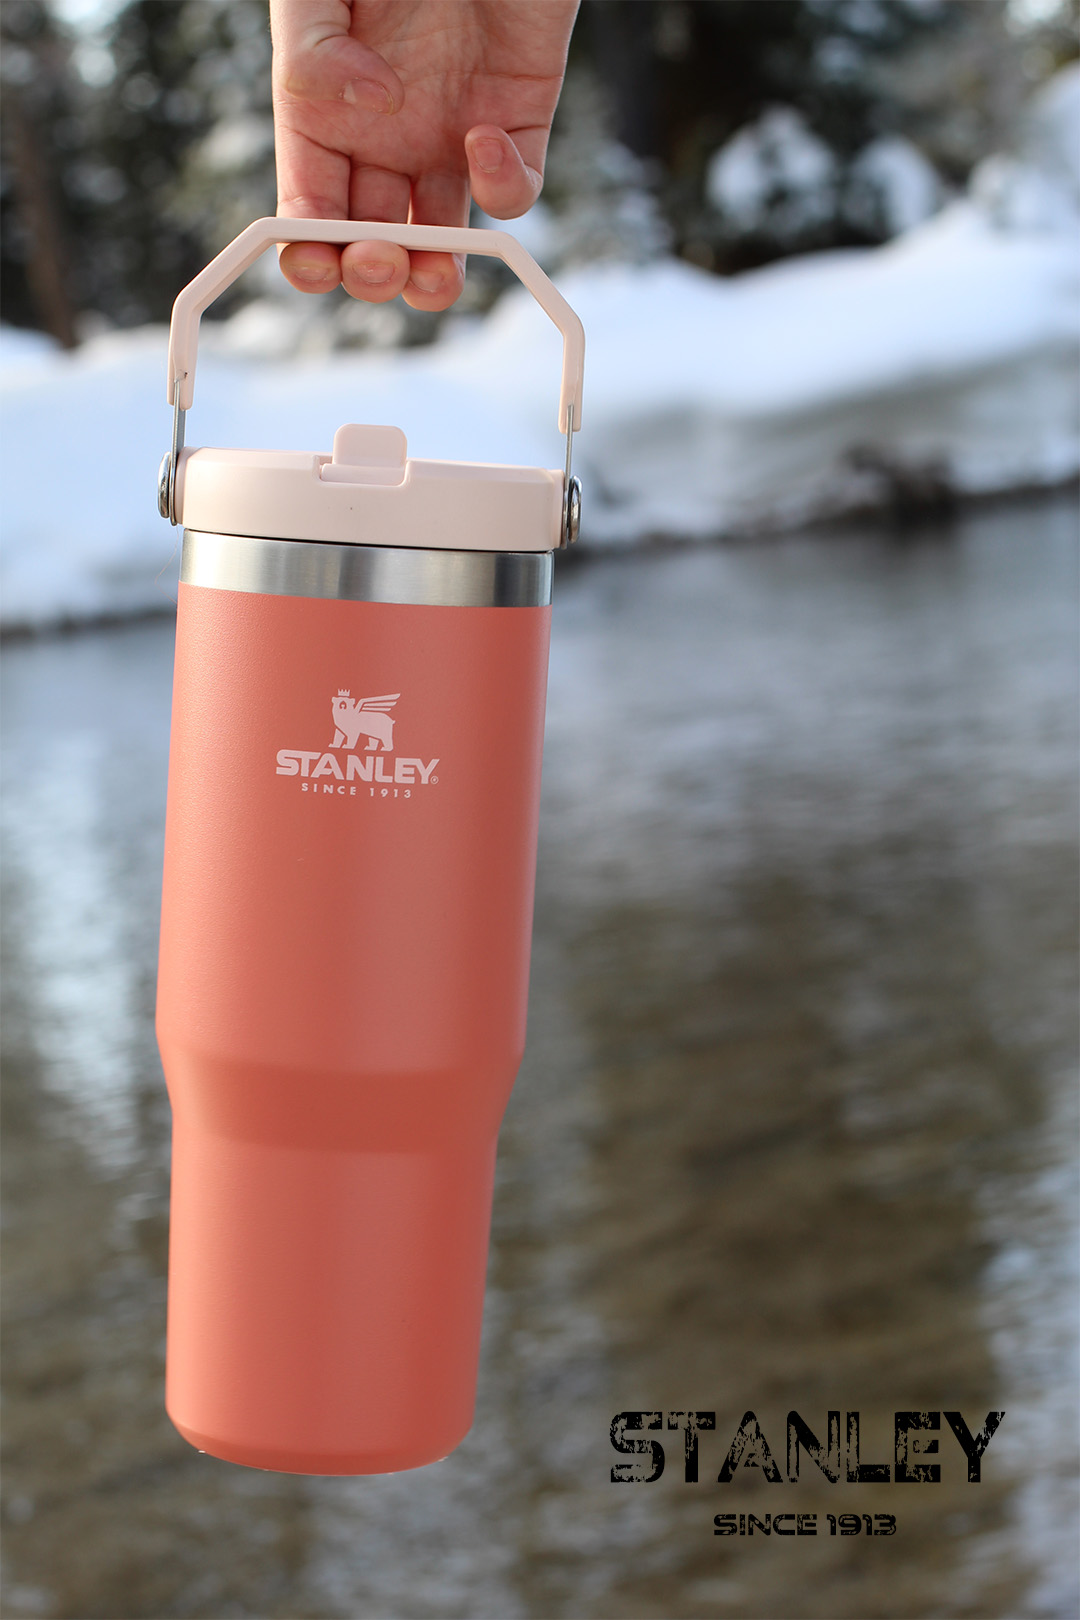
I liked the idea of having a Stanley cup swinging outside and I really loved this picture. Unfortunately for me, I couldn’t find a logo font exactly like the one that is used for the cup, but I did my best with what I could find.

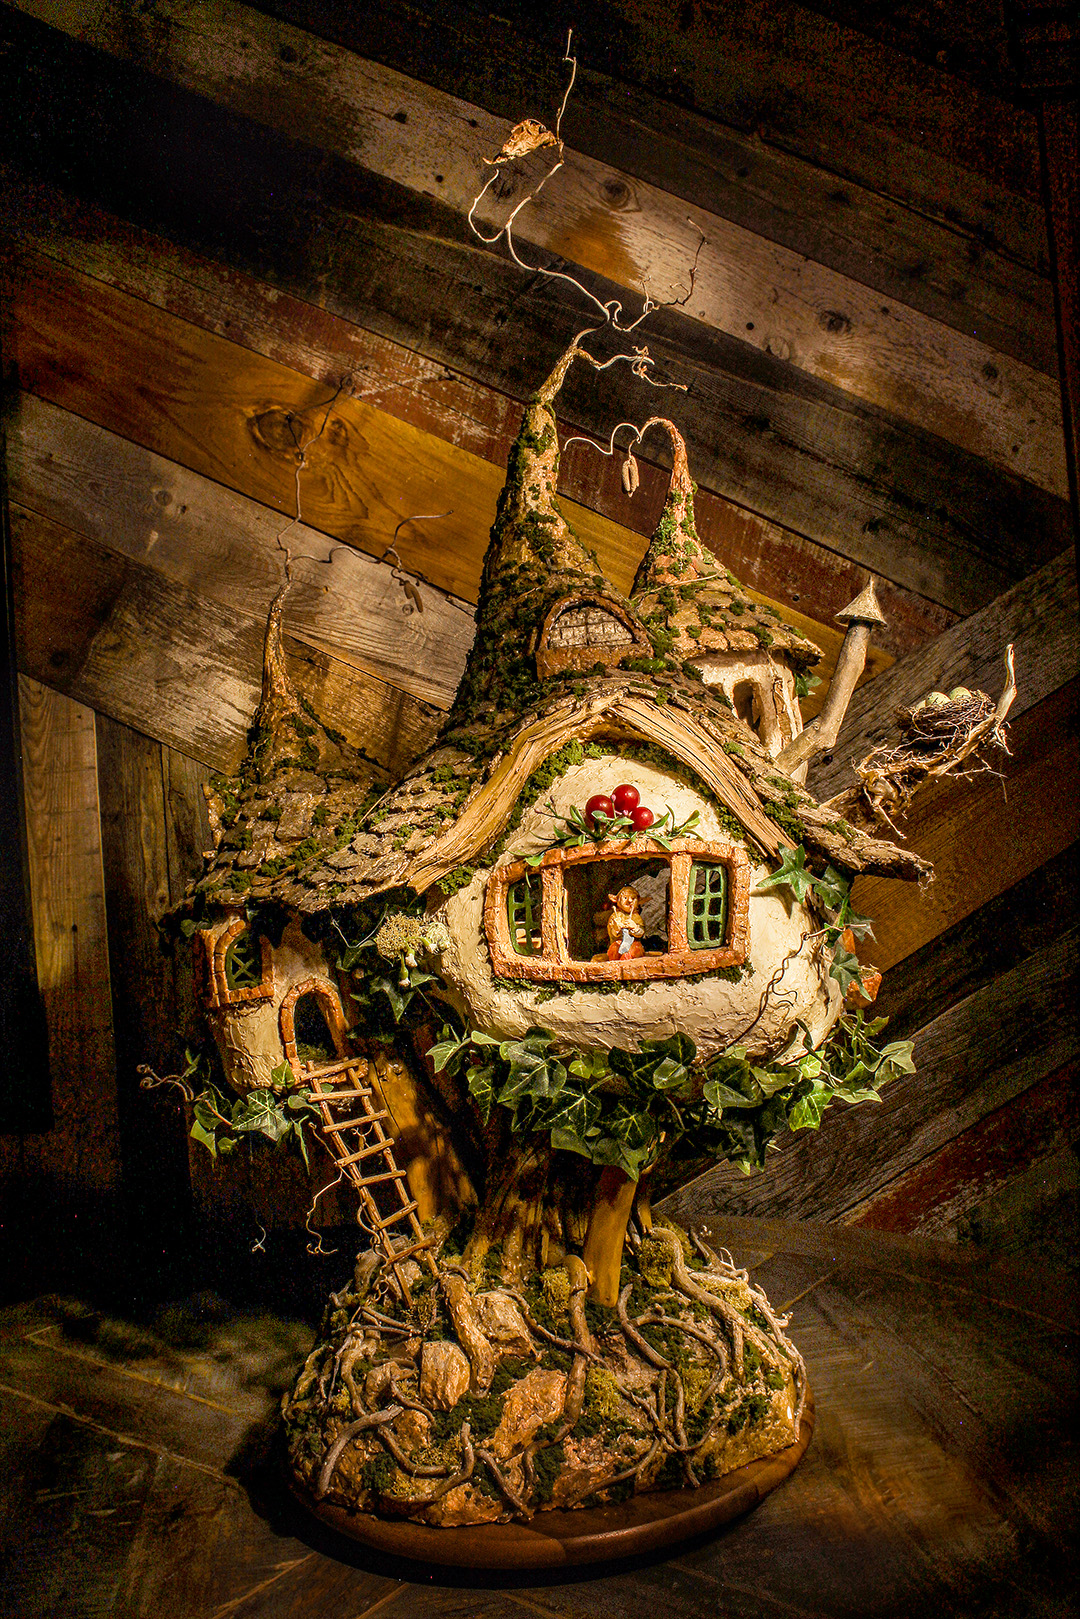
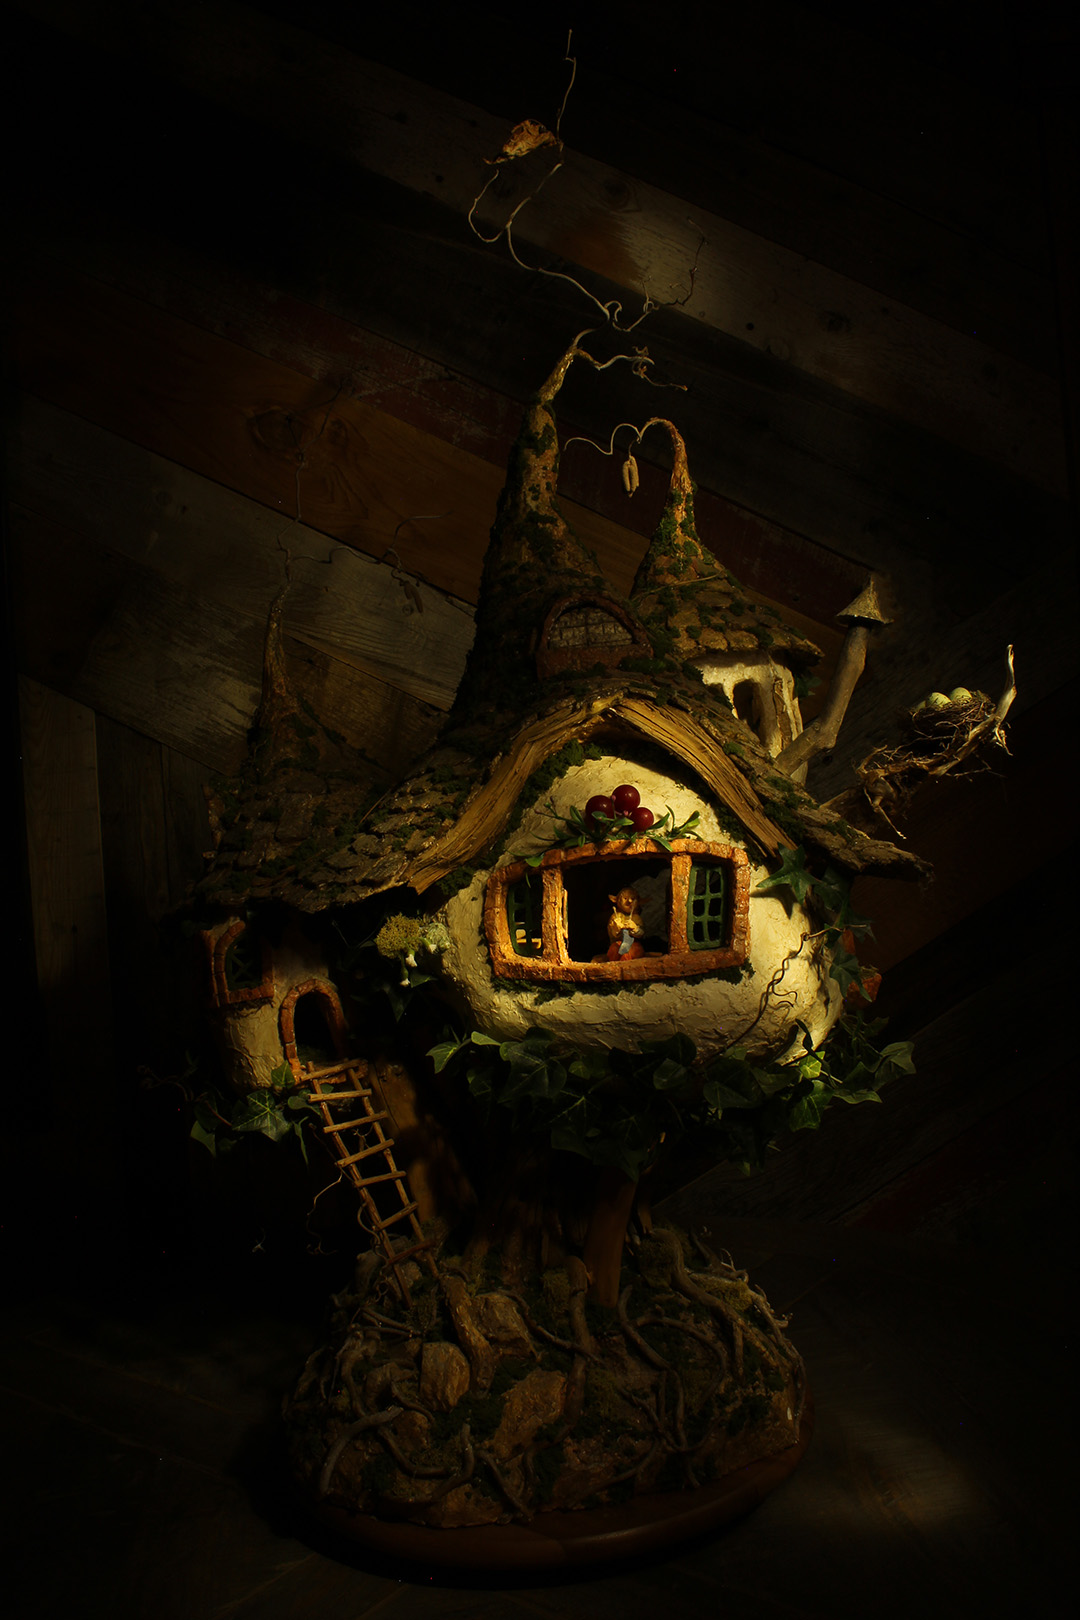
Light painting became a fast favorite for me. I enjoyed trying to make my own shadows with the flashlight and could’ve stayed at this station all day. The first photo I was taking on a warmer white balance, so it would come out looking like the second photo – it had a warmer tone to it. I wanted to try something different so I switched the white balance and it came out bluer, almost clinic looking – which I loved. The second photo was taken of a cute little clay gnome house that I thought would look cool as a light painting. It almost looks like something taken out of a fantasy novel.
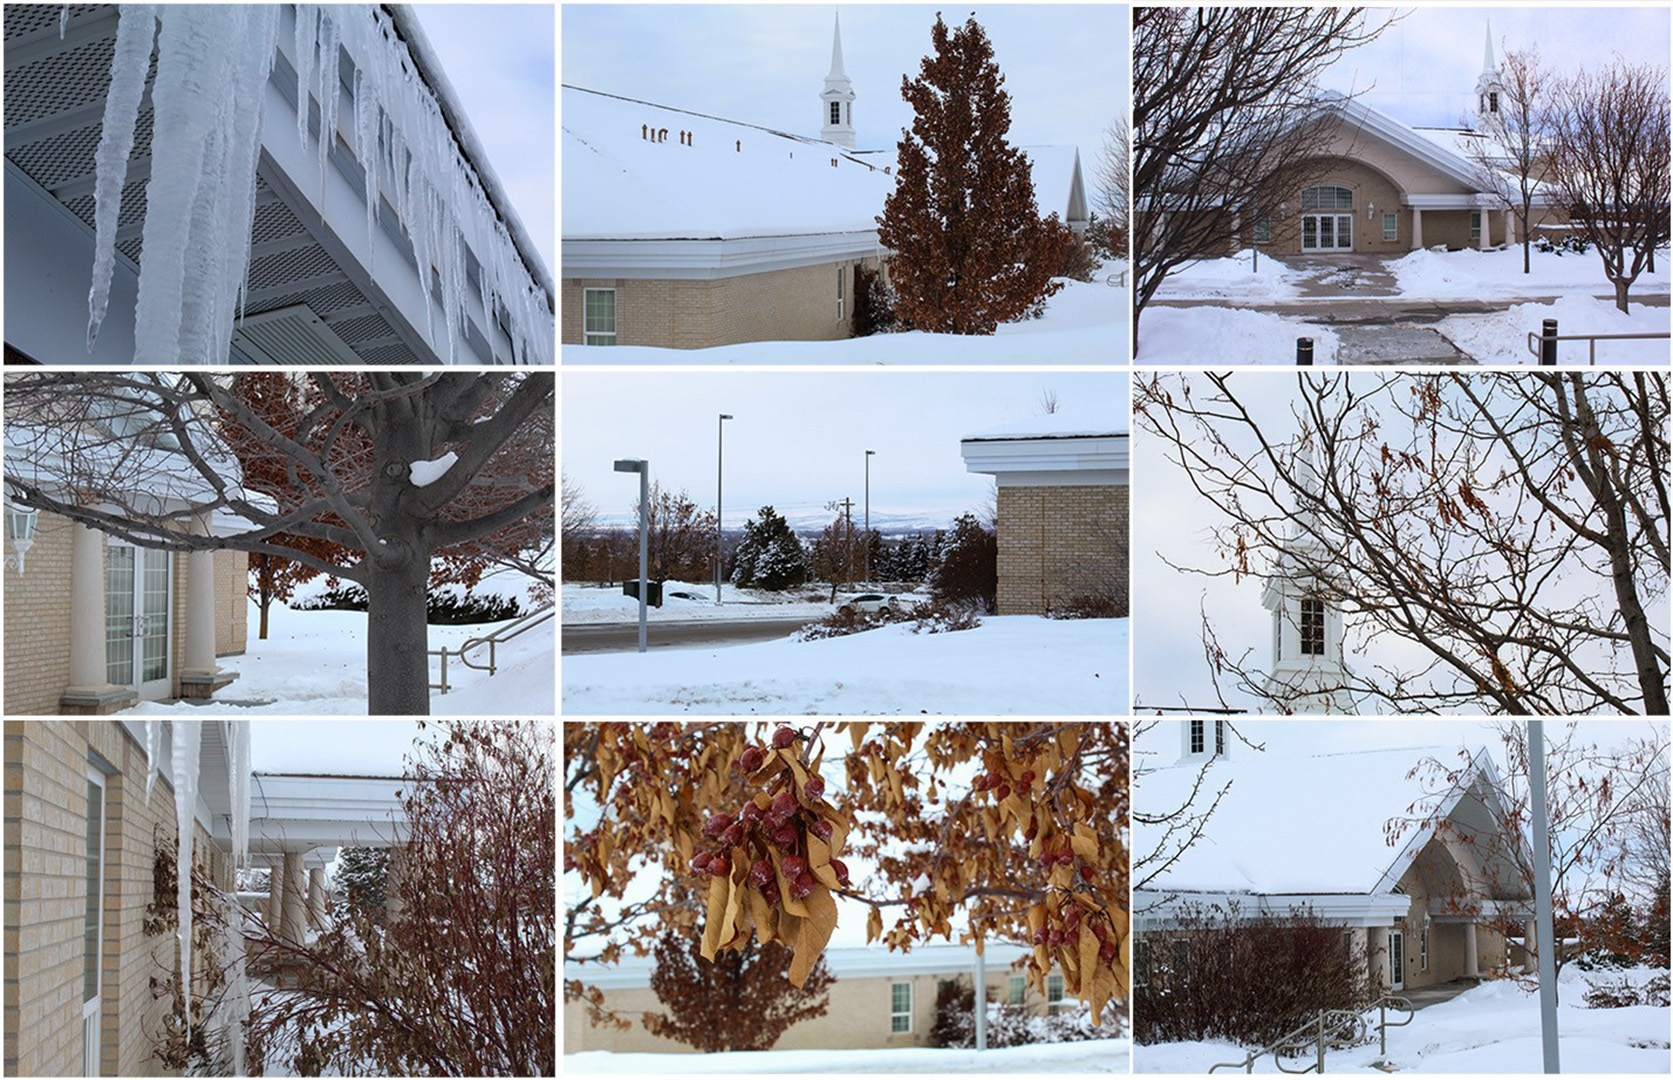
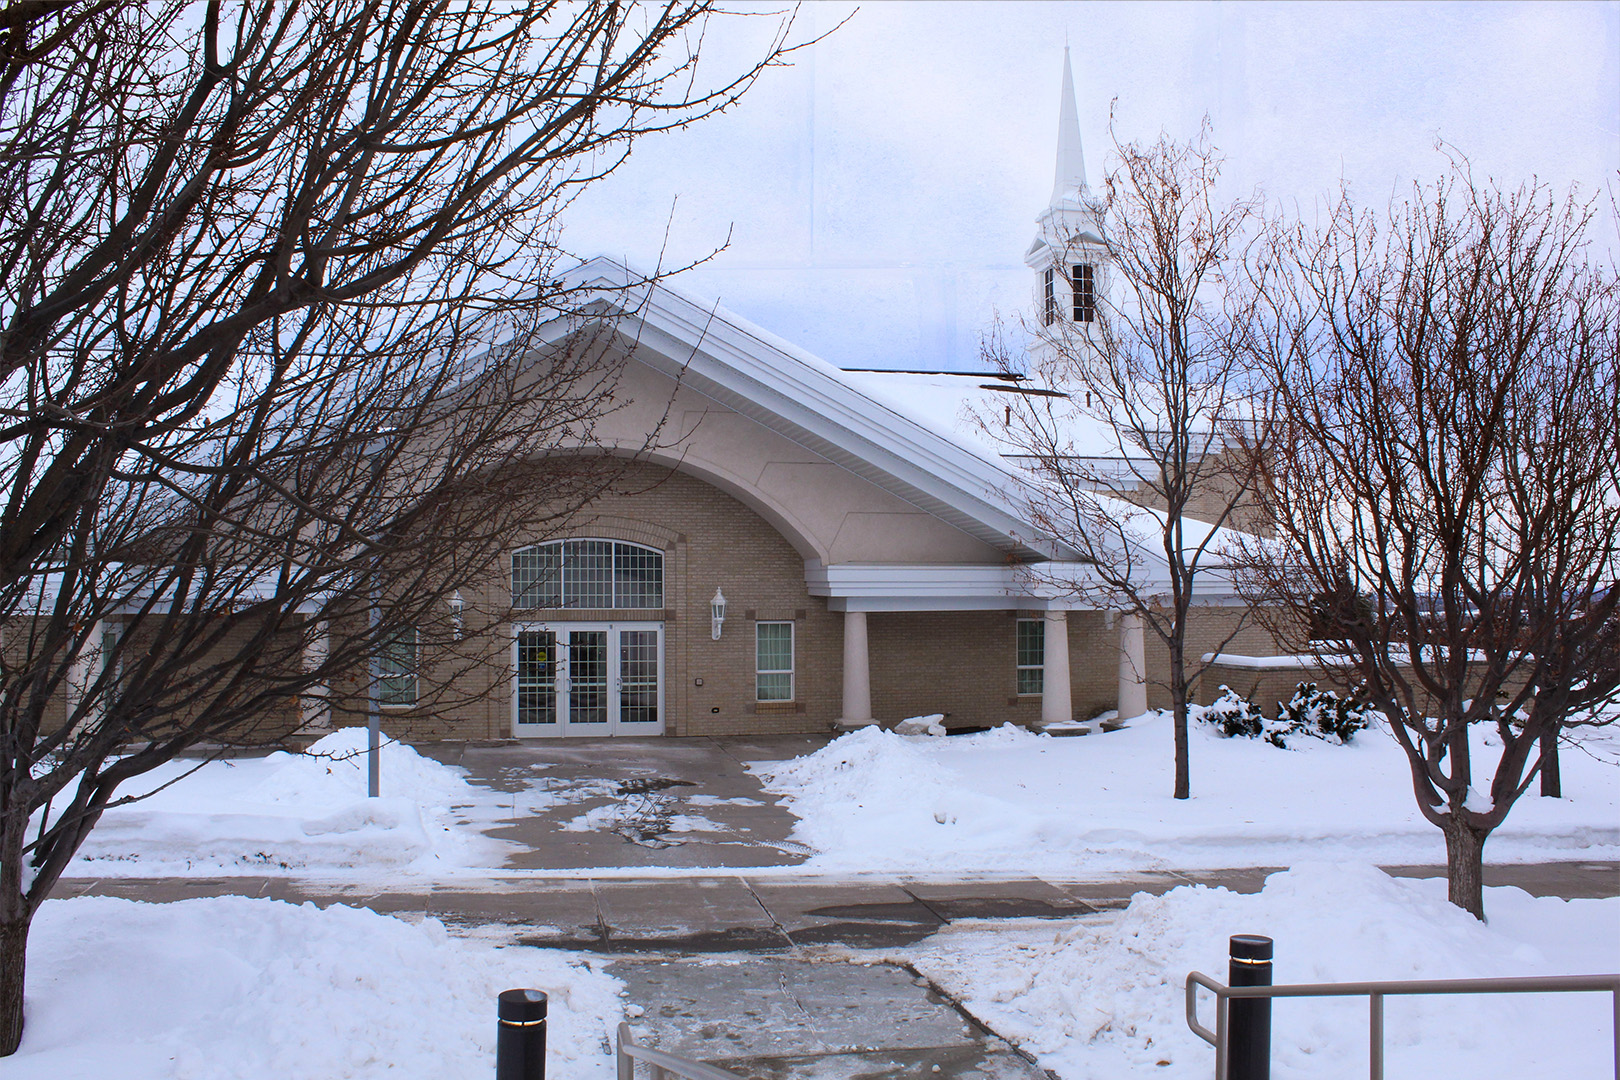
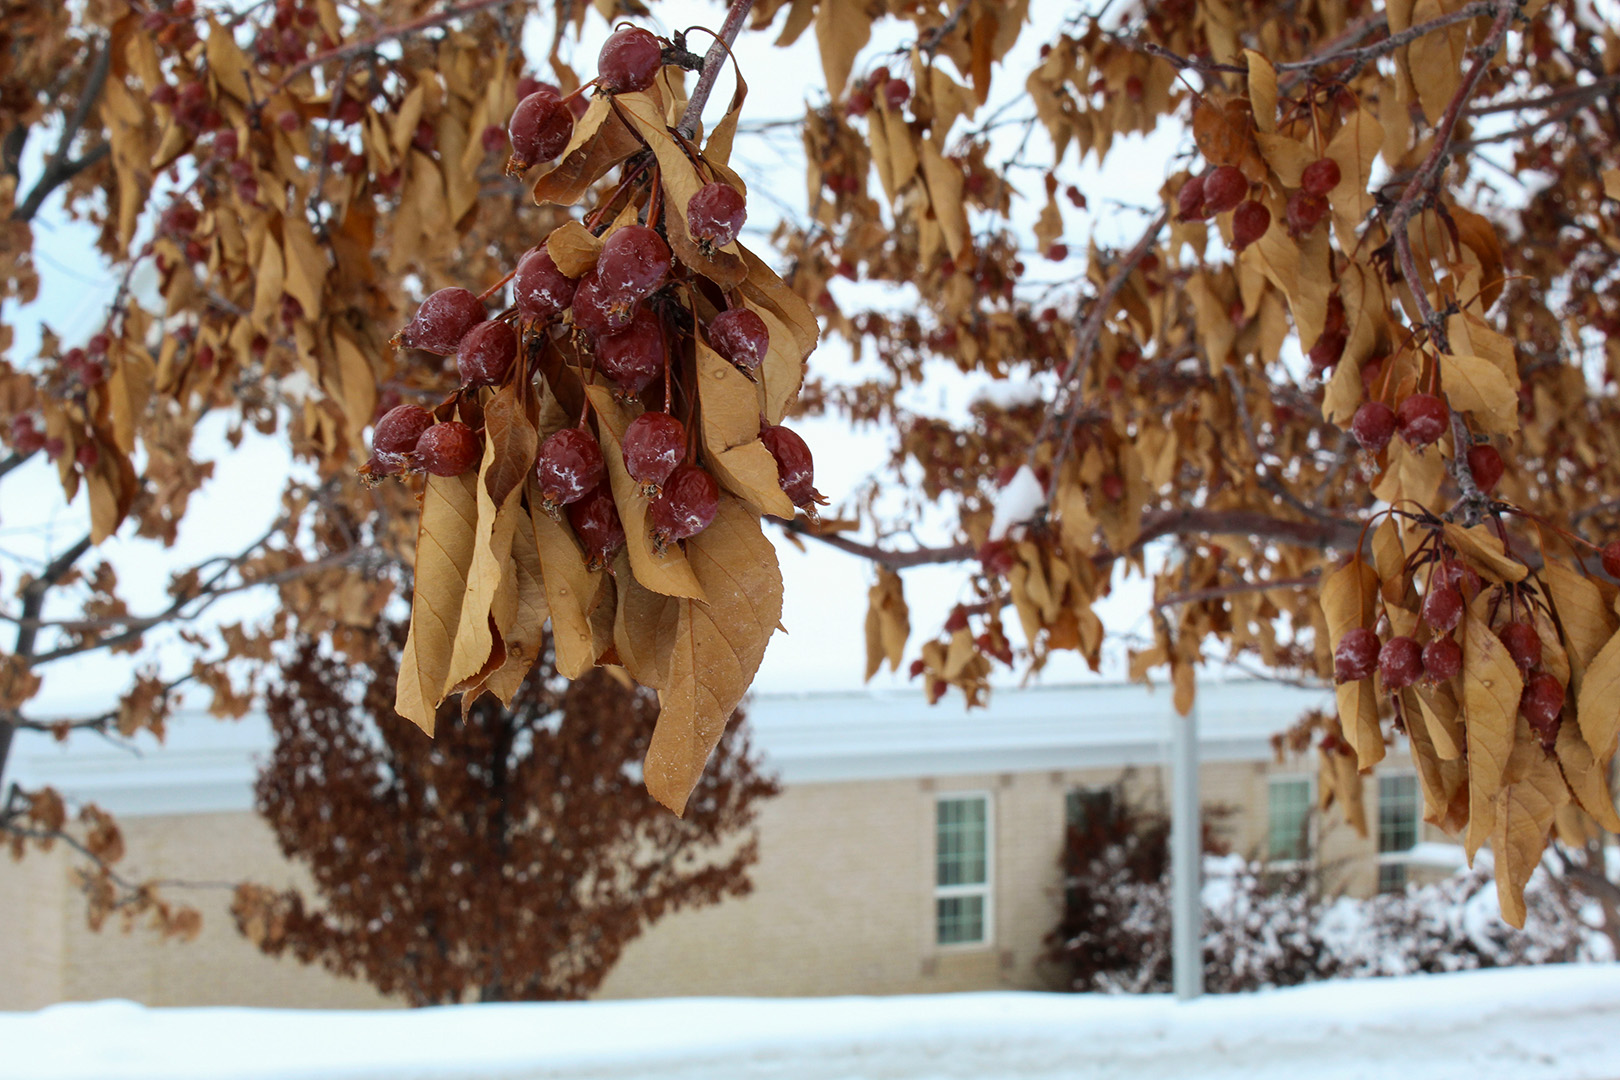
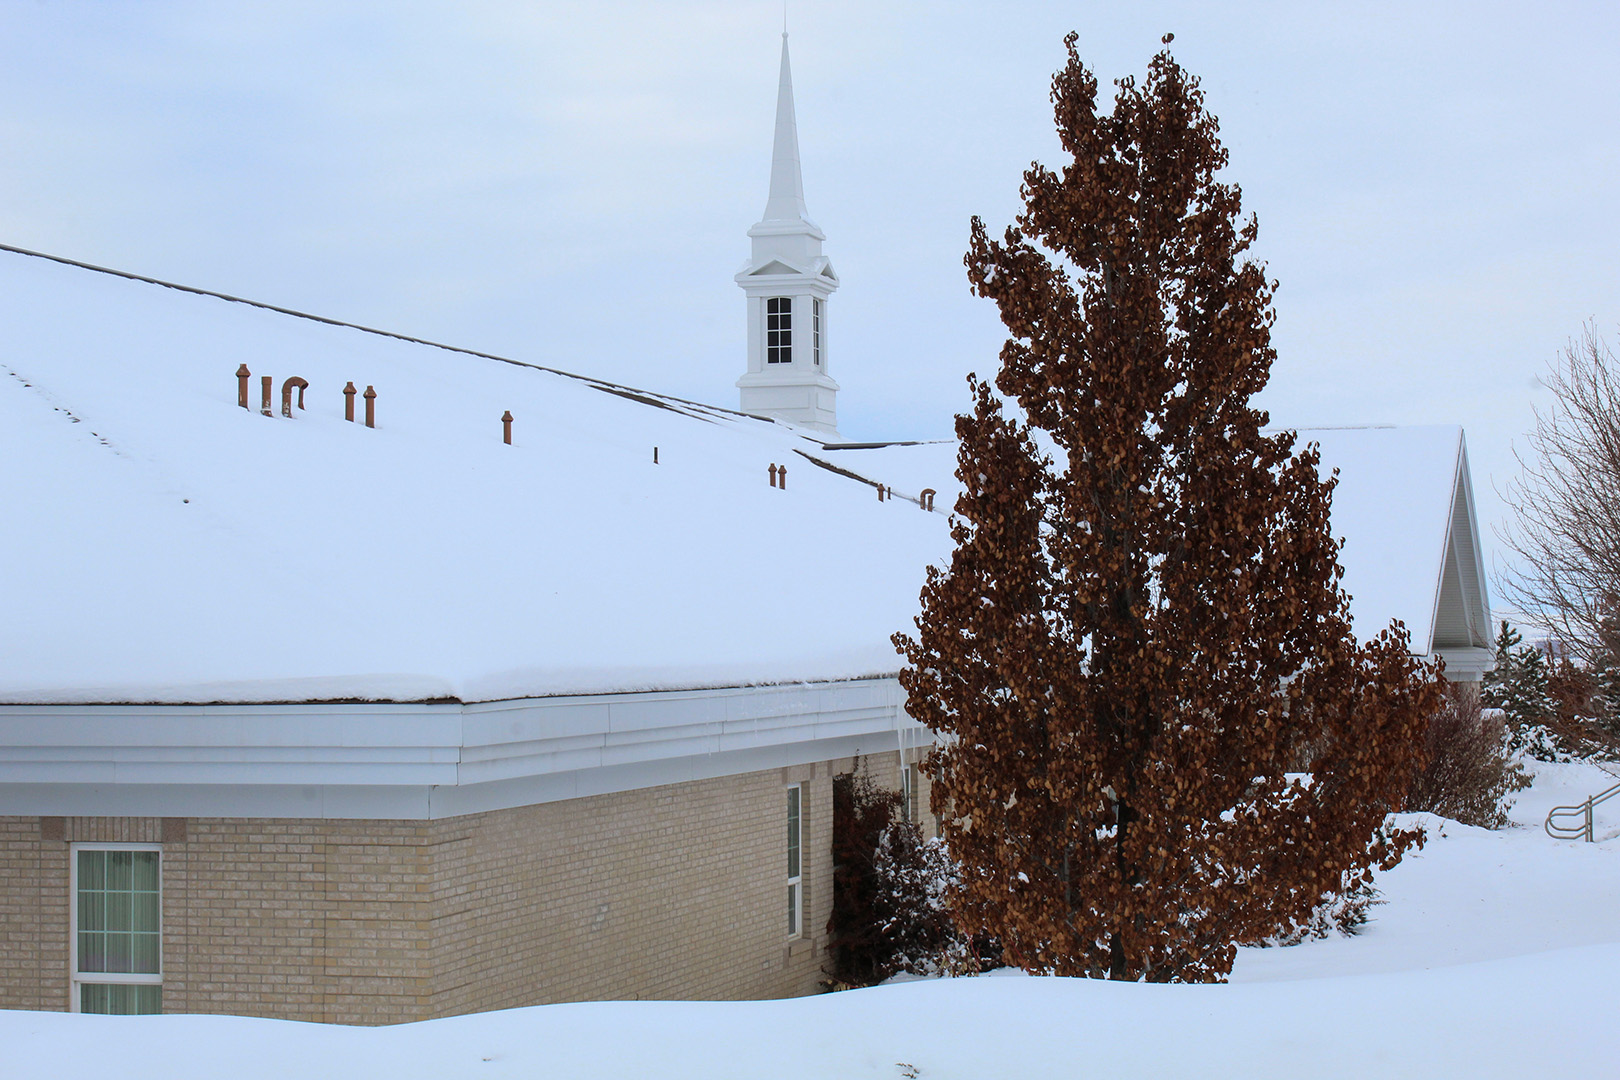
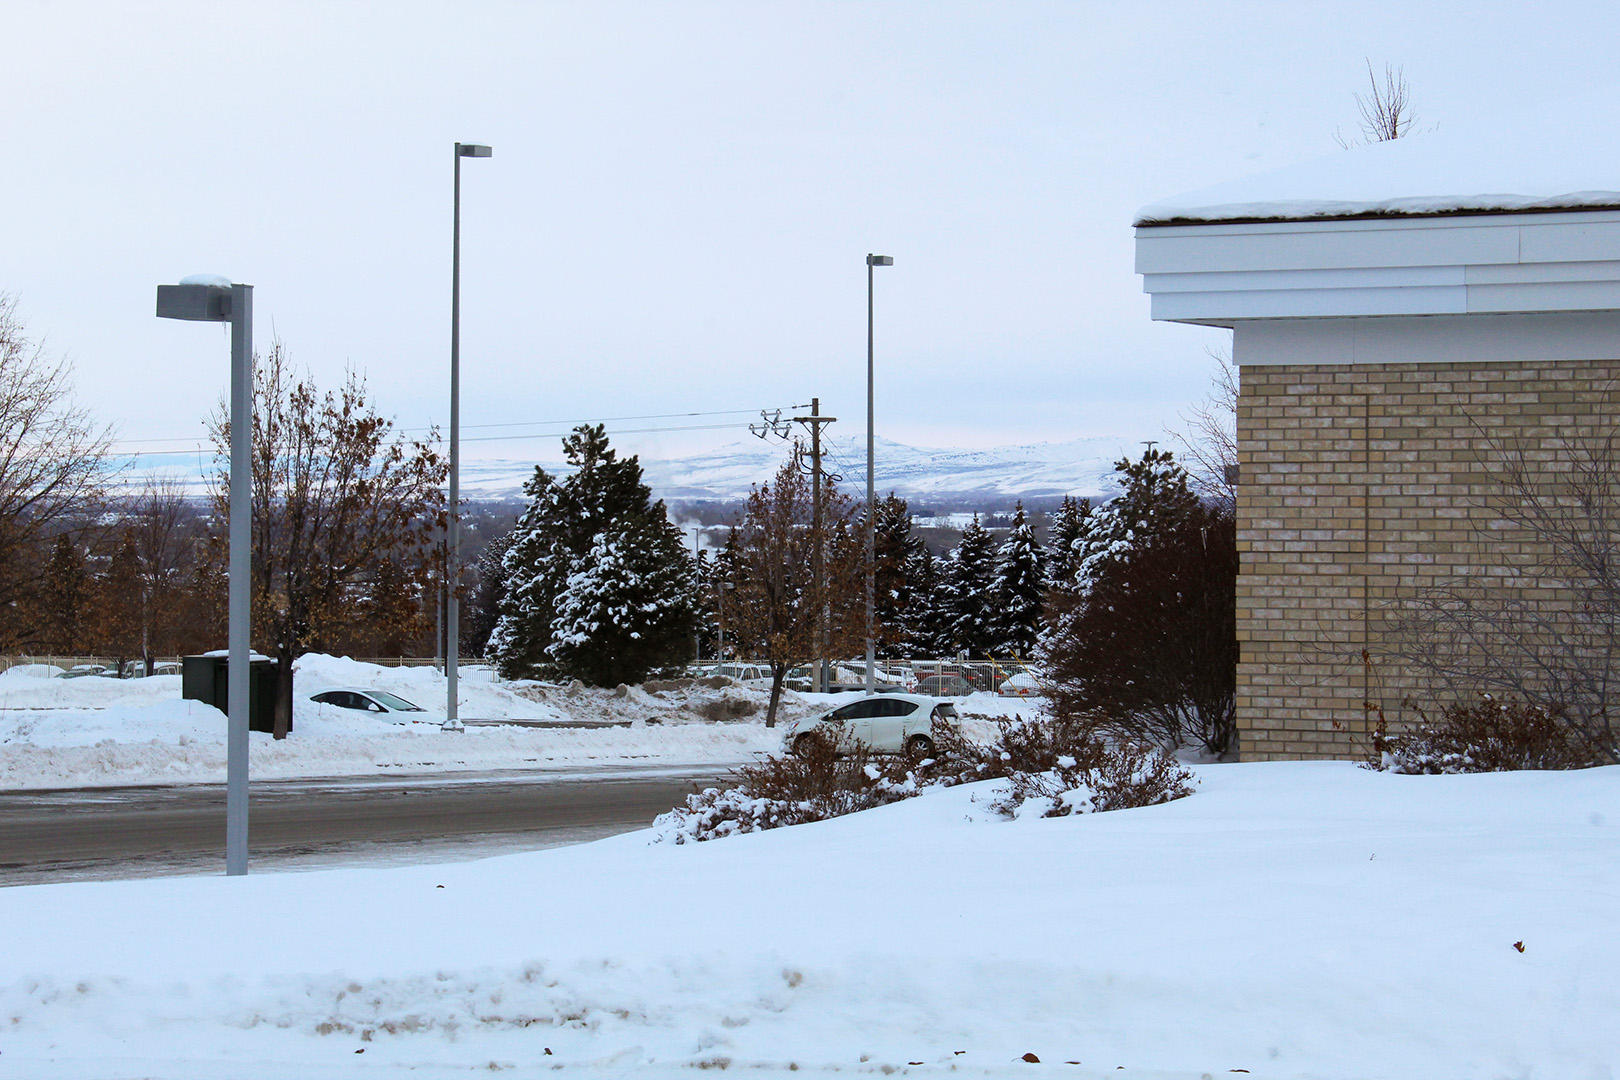
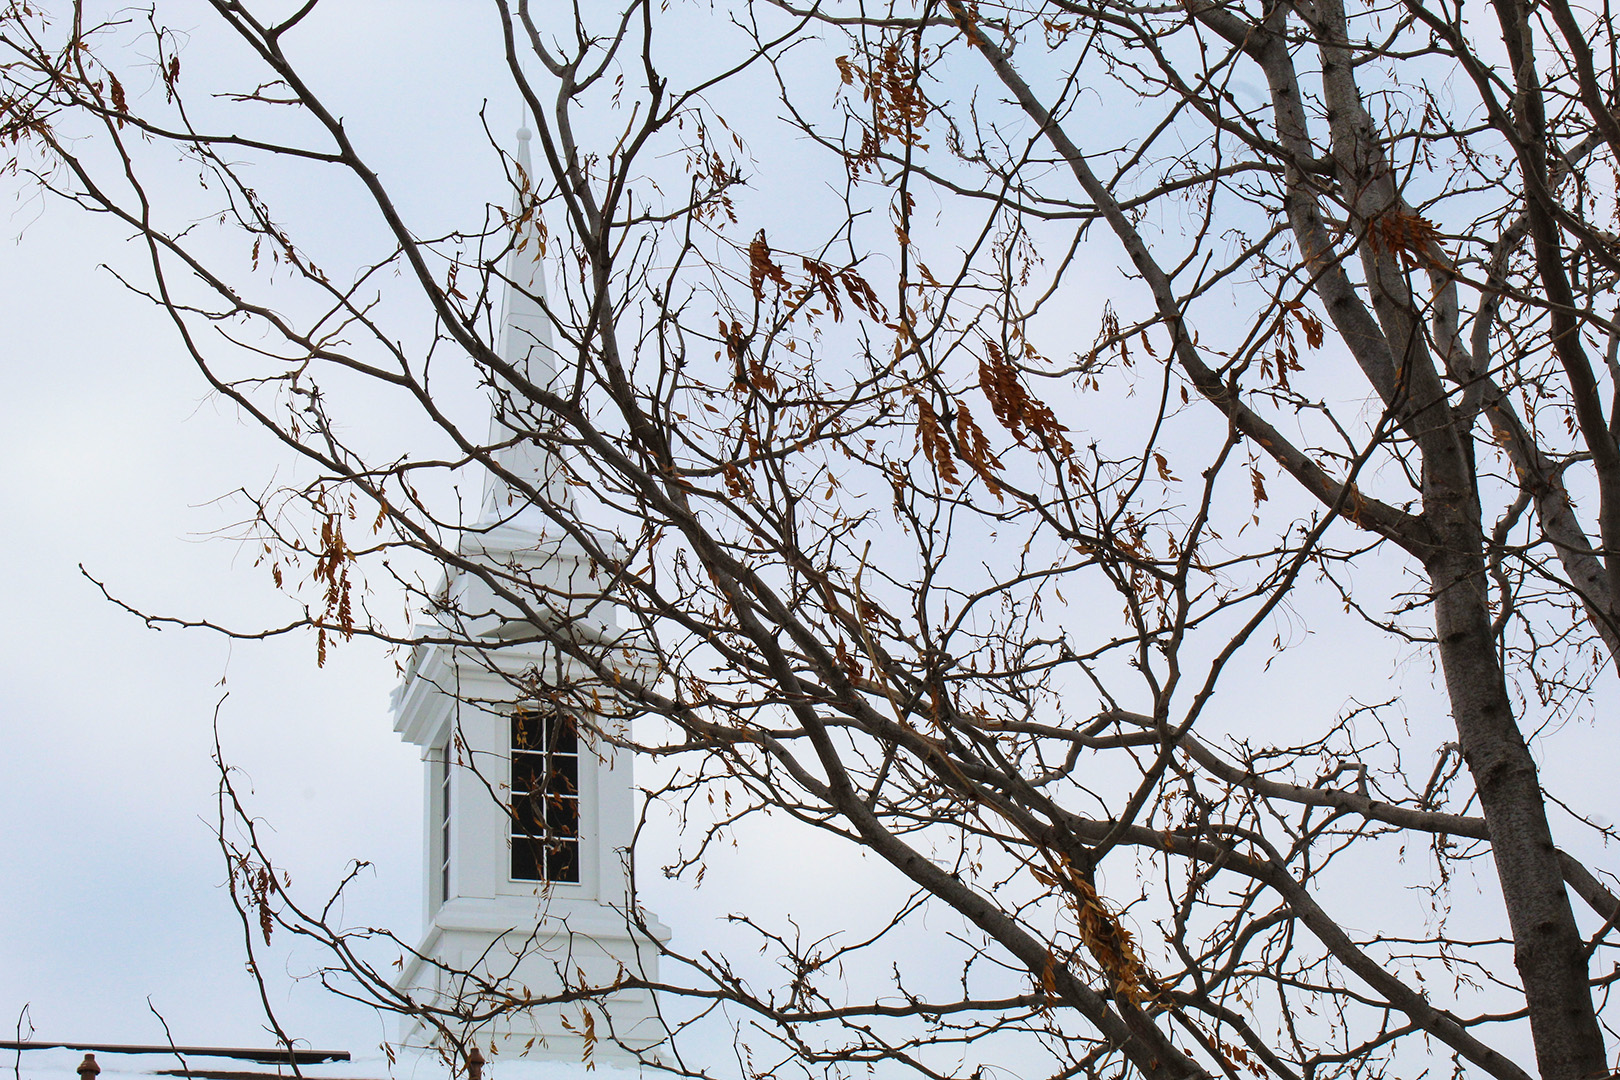
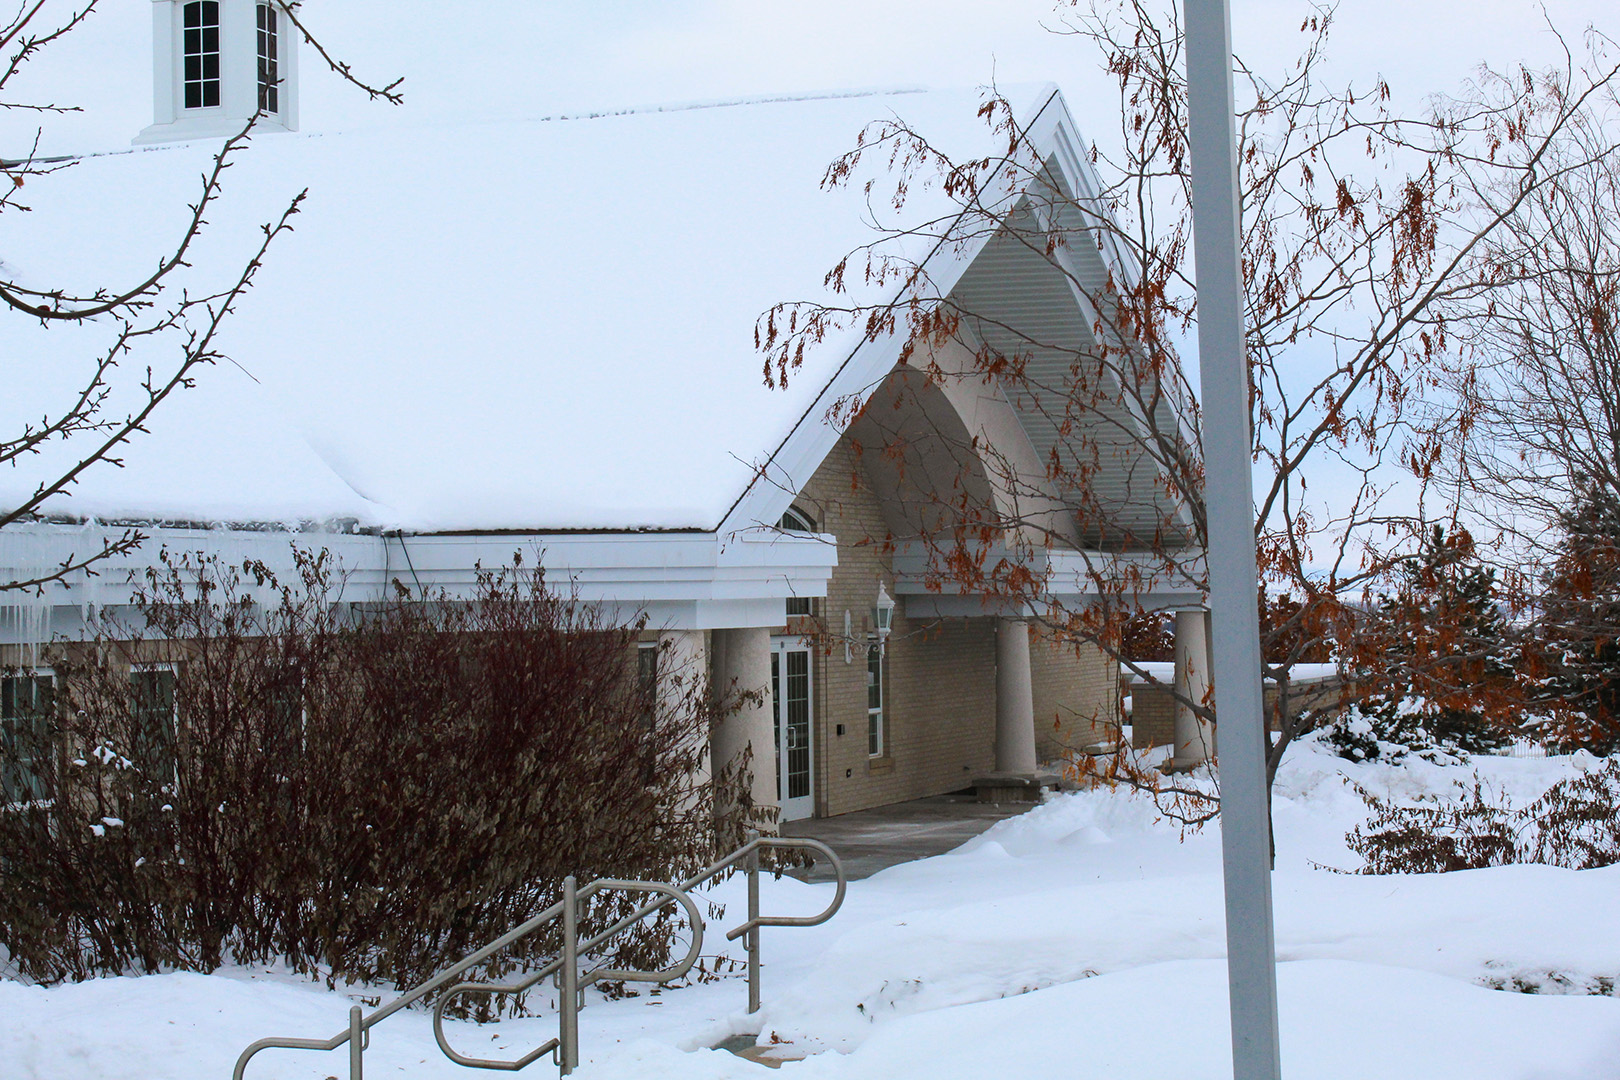
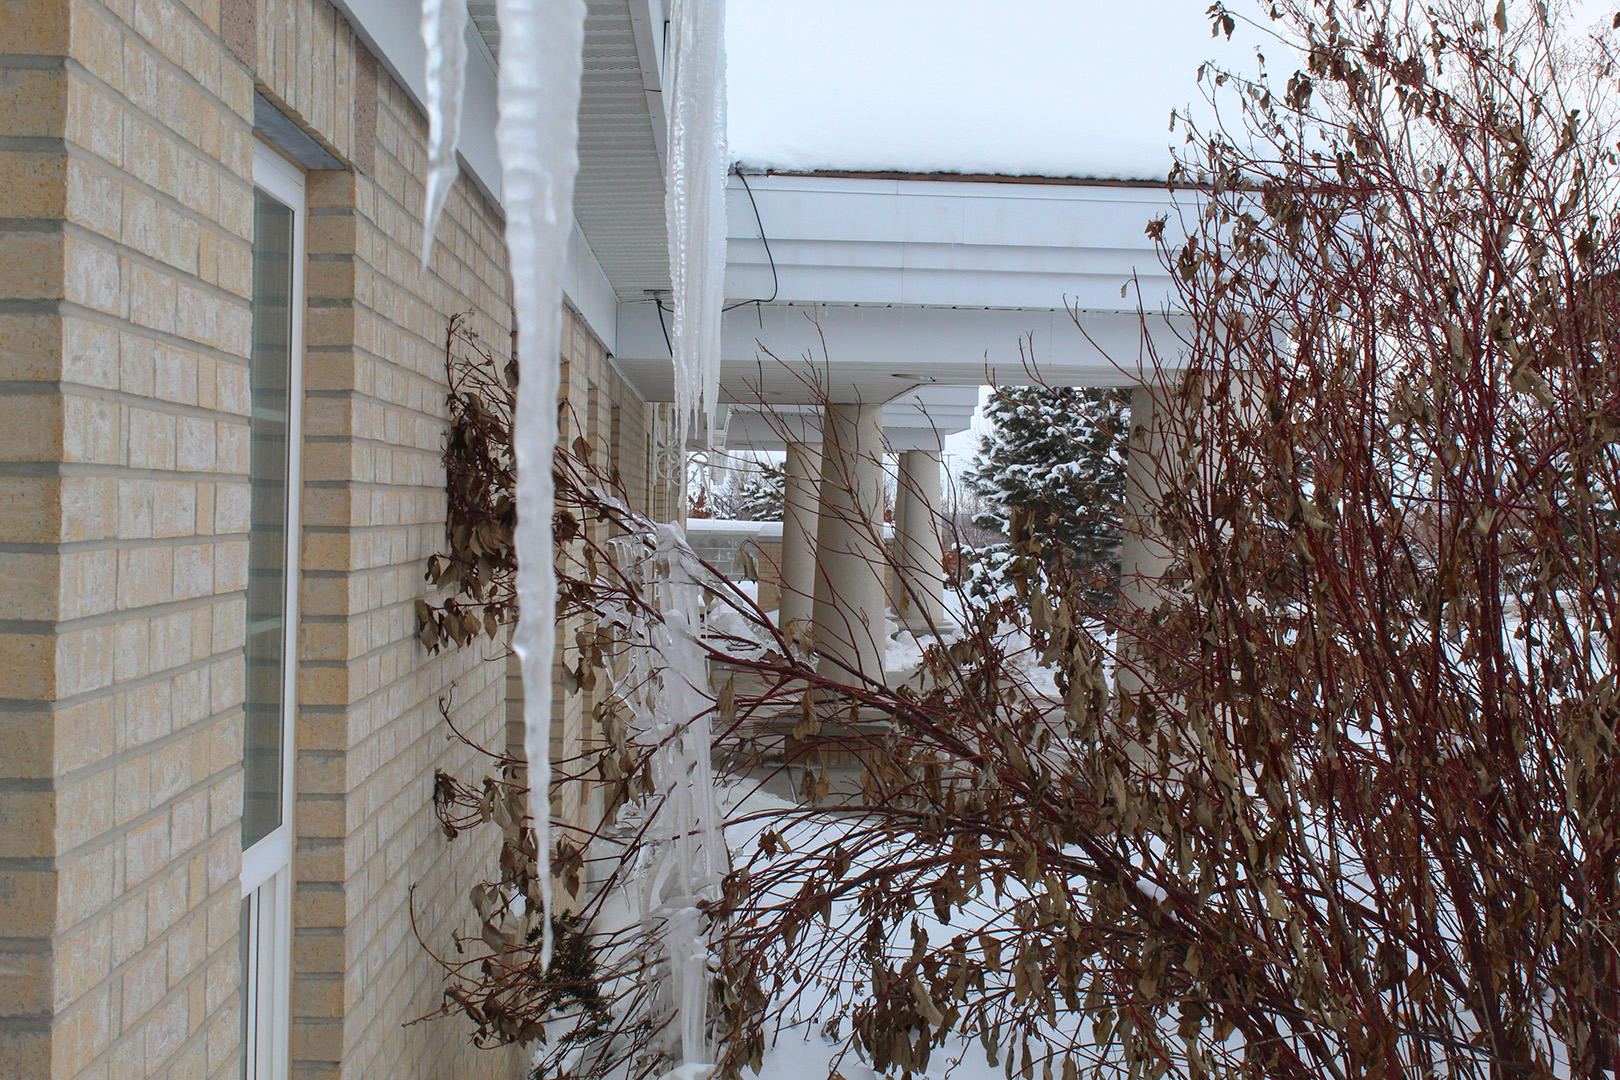
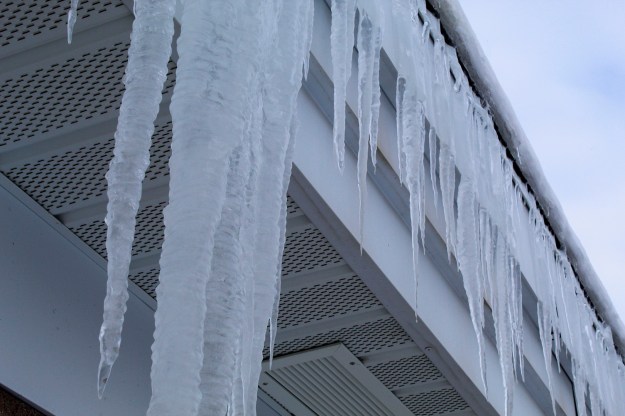
This week was a cold one! I definitely should’ve taken my photos at the end of last week over doing them early this week. For those who don’t know, it got down to -40 here in Rexburg with the Windchill. Let me tell you, it felt like it. I chose to make the object used in every photo the church building next to the Temple. In every photo you’ll see part of the church in it.
This photo has a texture blended into it in the background. I took a stock brick texture and blended it in Photoshop.

This project I worked on Aperture settings. This means that depending on what the f-stop is at would determine if my photo was sharp or has some blur. This was a lot of fun to learn and work with. If you want a blurry background, it’s better to use a smaller f-stop (f/2.8 to f/4). If you’re looking for a sharp photo all the way around, it’s better to use a higher f-stop (f/18 to f/22). Be careful though, if you use too high of an f-stop you’re photo will be blurry around the edges.
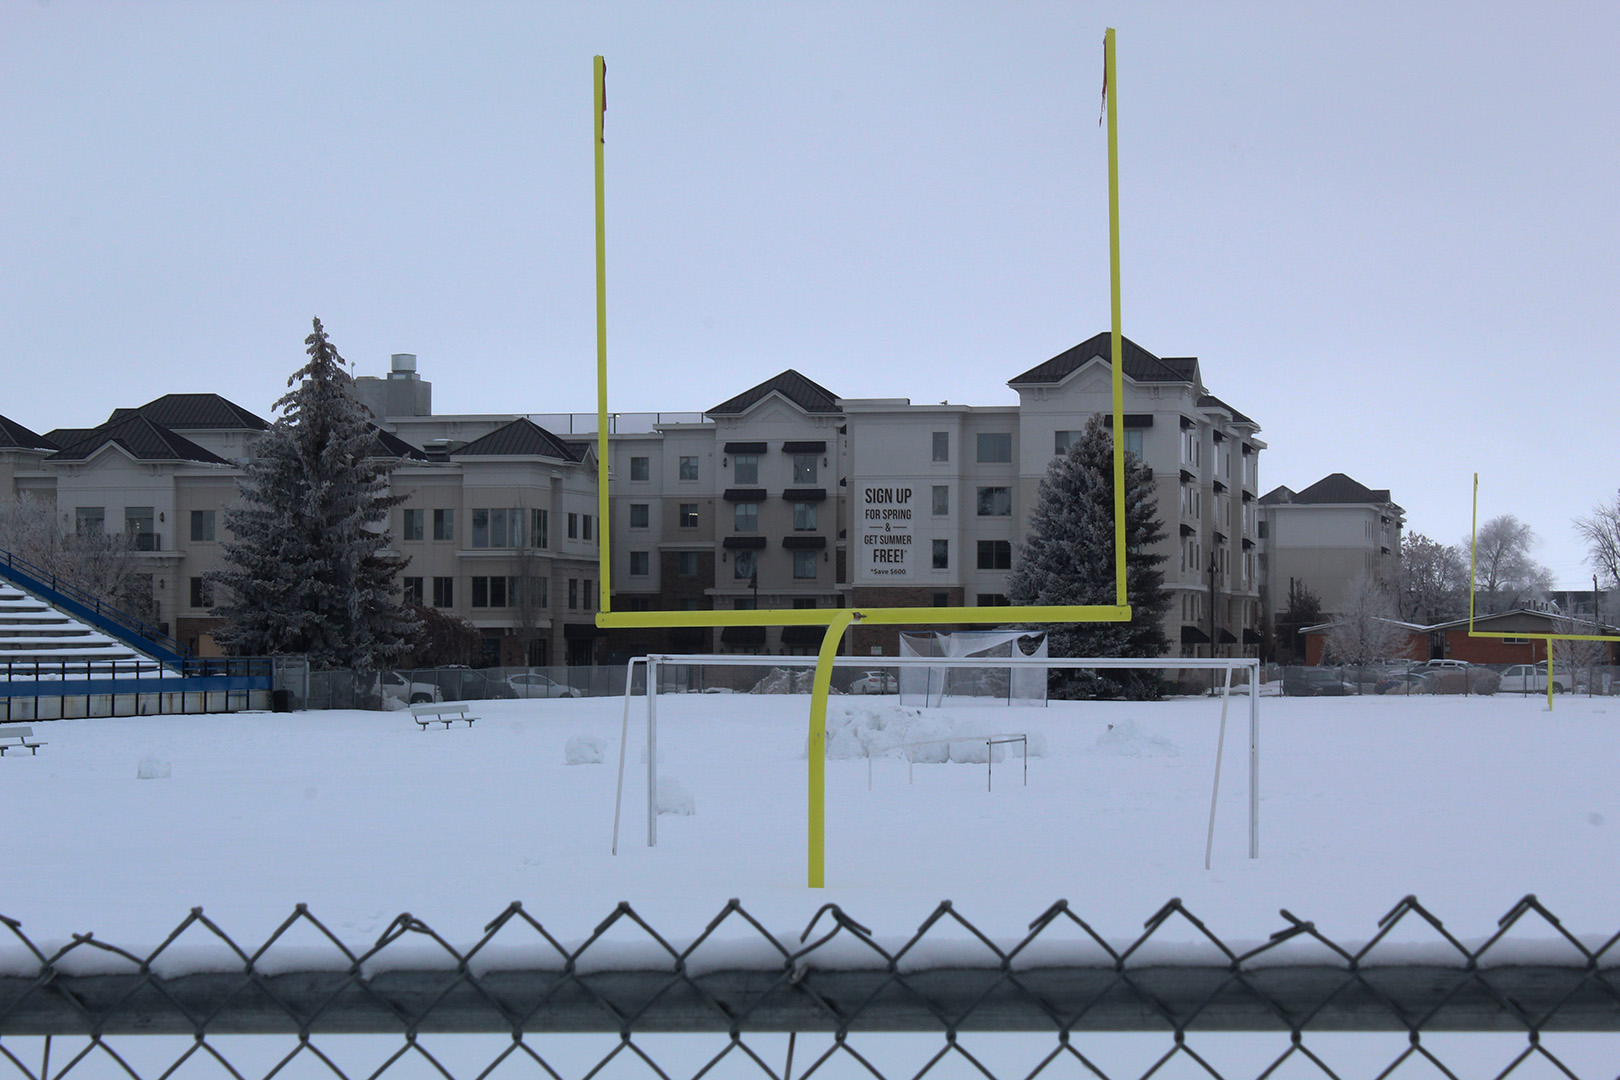
This photo has a deep depth of field. You can tell this by how sharp everything is from the goal post to the buildings in the back.

This is another example of deep depth focus. There isn’t any blur behind the front lamp post and even the apartment buildings in the back are in pretty good focus. Notice how I used an f-stop of 18 and not anything higher, this allows the outside of the image to not get a vignette look.

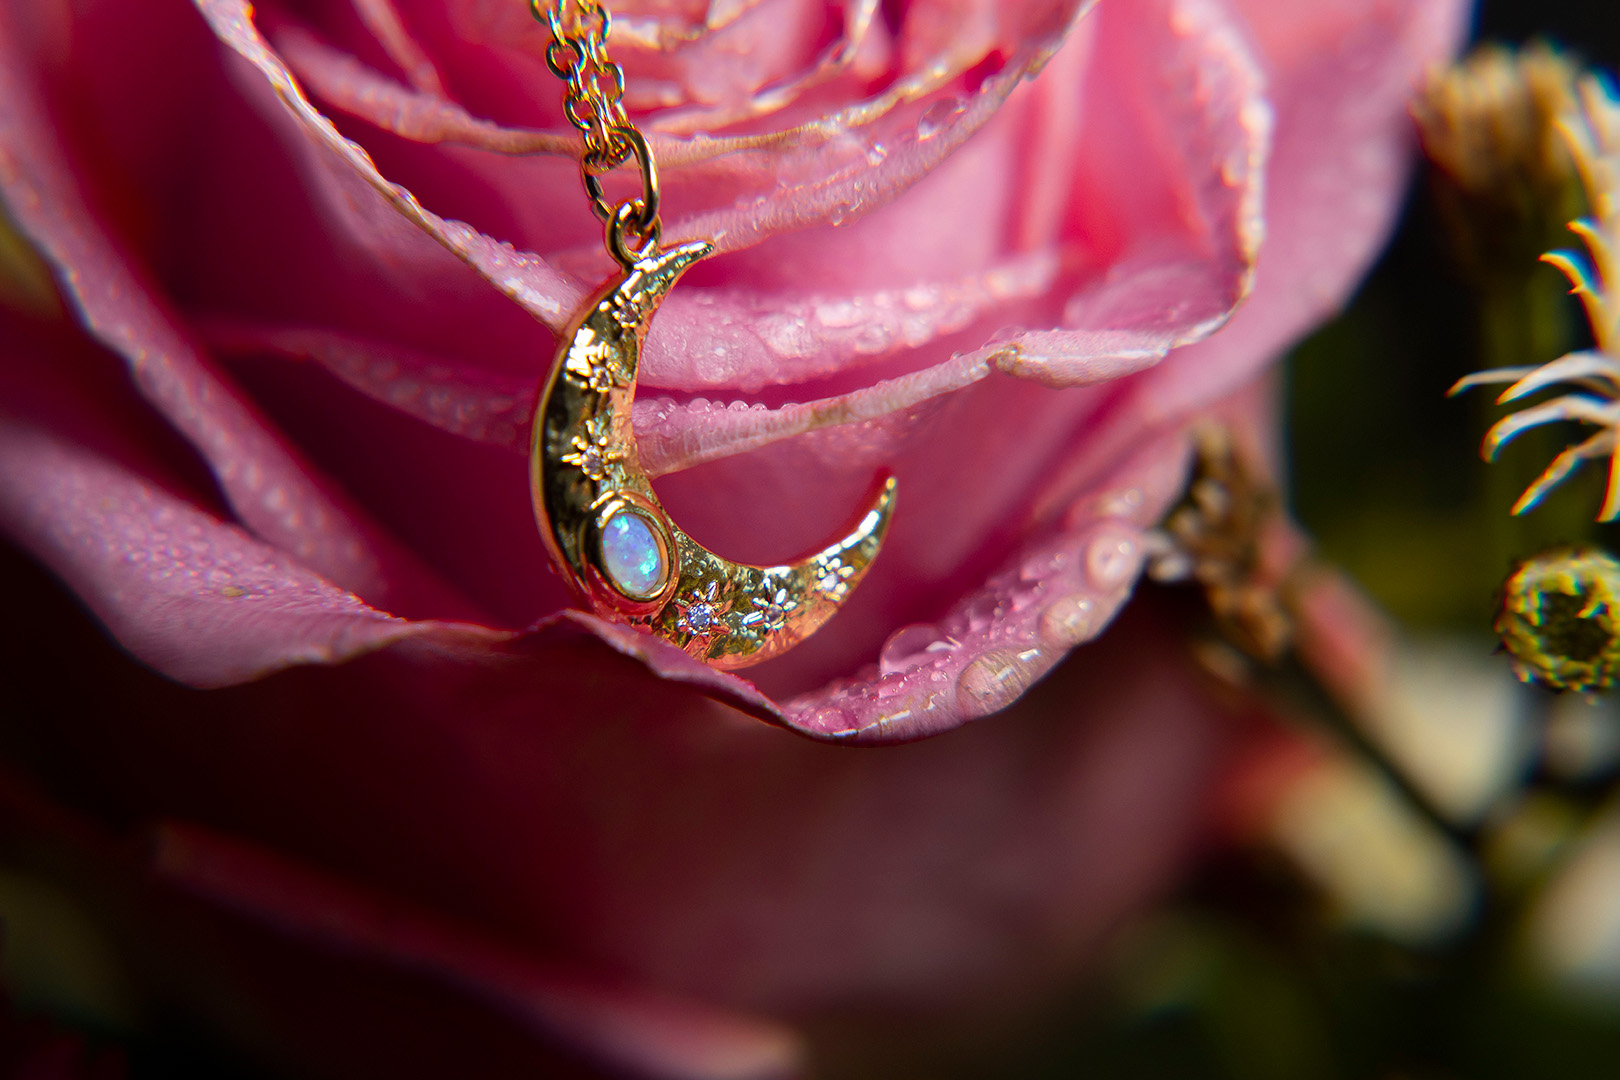
From this photo you can easily tell that the background is blurry and that the main focus is the leaf. I zoomed in as far as I could and used the smallest f-stop I have to make the background blurry. A small f-stop will create this very nice blur in the background.
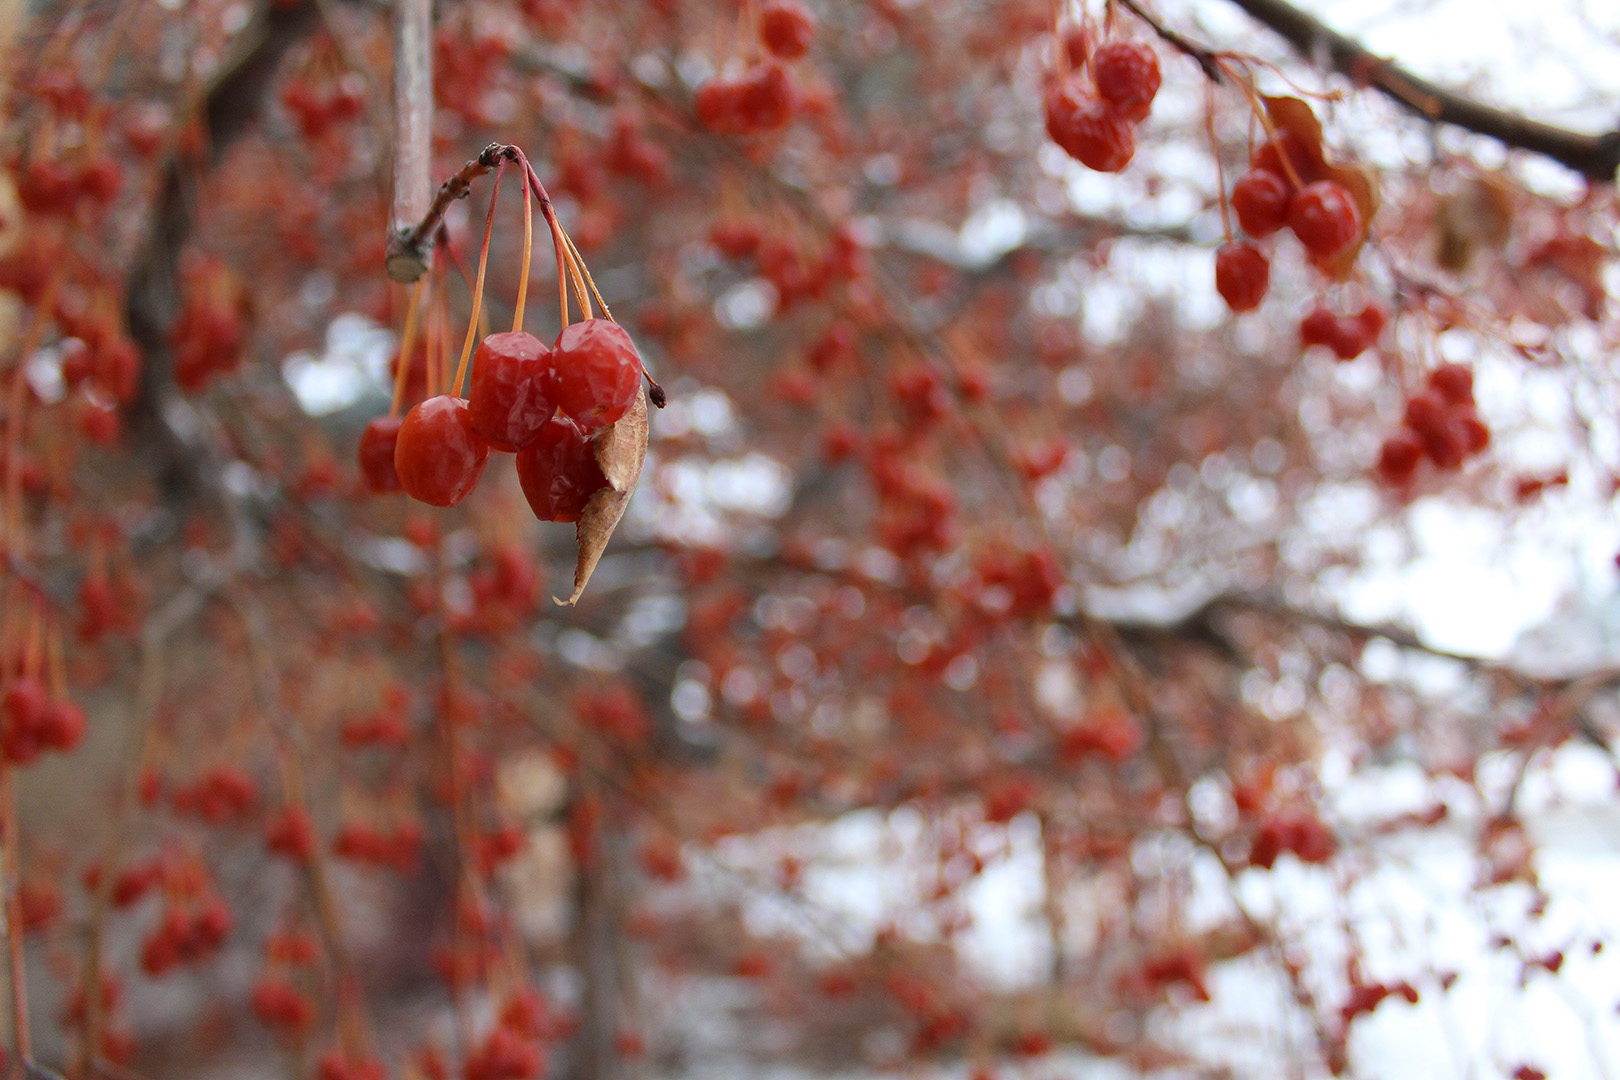
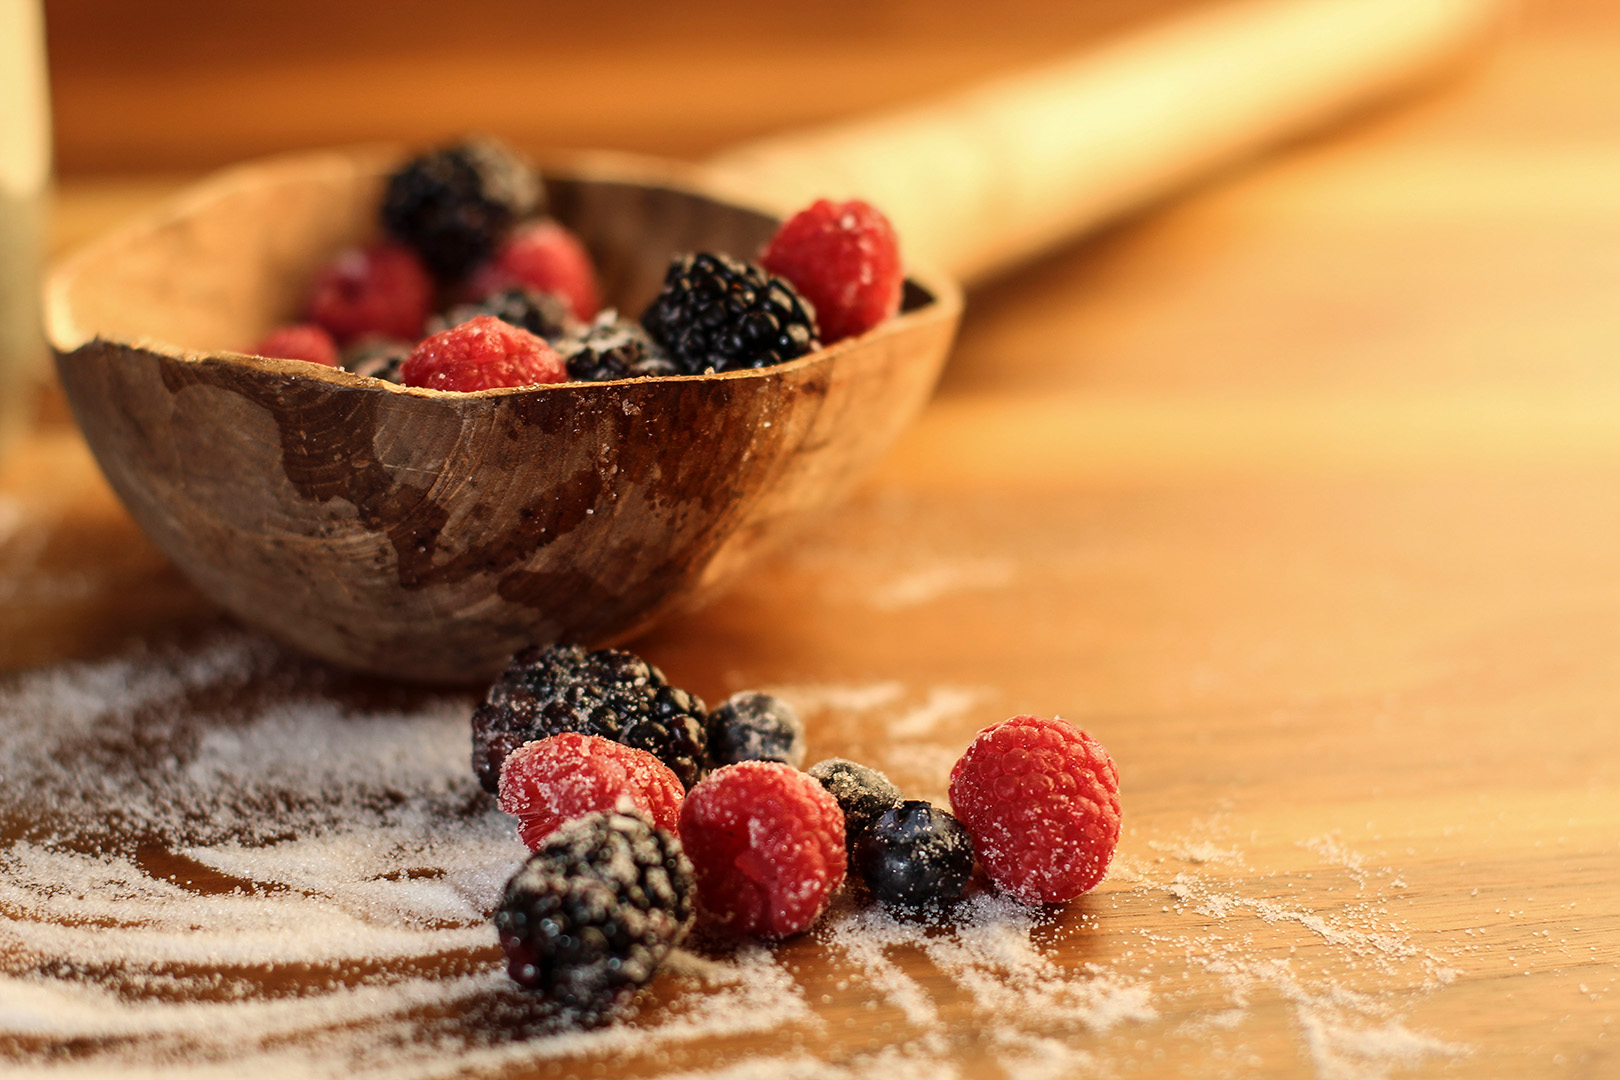
I used the same f-stop as the last picture I took because that’s the lowest my camera can go. With a nicer lens I could go even lower and make a more pronounced bokeh (blur in the background). One thing to be aware of is to not get too close to your main object or else it will also be slightly blurry. Originally the berries were slightly out of focus because I was too close, but I went in and sharpened them up so it wasn’t as obvious.
